

Zirconia is tough — but post-cementation adjustments can turn a polished workhorse into an abrasive surface if you’re not careful. This guide shows lab and chairside teams how to adjust intelligently, preserve shade, and finish to a mirror polish that’s kind to opposing enamel.
Why Minimal, Controlled Adjustment Matters
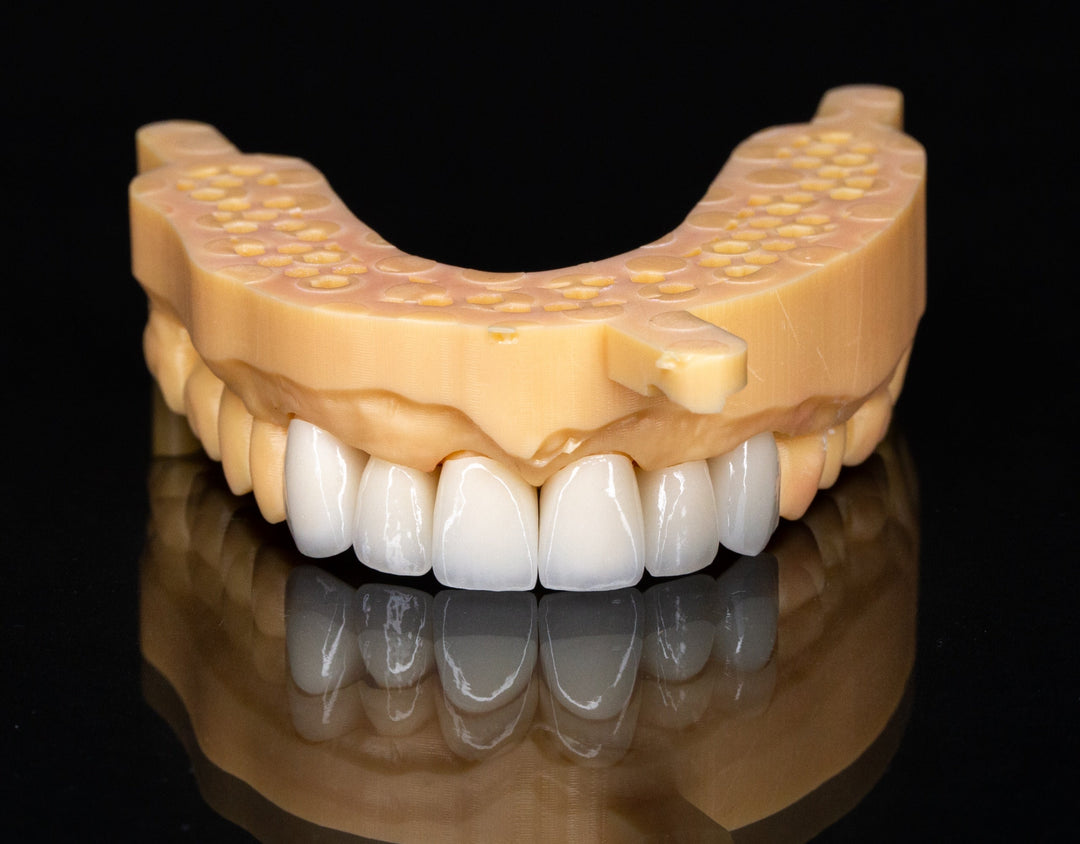
Color integrity. Most modern zirconias use intrinsic shading and/or multilayer gradients. Aggressive grinding can remove the highly translucent outer zone and expose a duller core, shifting value and chroma.
Antagonist wear. A rough zirconia surface acts like sandpaper. A properly polished surface (not just glazed) reduces friction and helps protect opposing teeth.
Strength & longevity. Sharp scratches and heat from heavy pressure can seed micro-cracks—especially in higher-translucency 5Y zirconia. Smooth, cooled, light-pressure finishing lowers that risk.
Before You Touch the Wheel: Prevention Is Cheaper Than Correction
Collaborate with your lab. Request verified occlusion/contacts from the lab and supply accurate bite records/scan data to minimize chairside grinding.
Plan adjustments digitally. When possible, fine-tune proximal/occlusal relief pre-sinter in CAD/CAM to avoid removing color or translucency after firing.
Confirm shade and stump shade. Prevent value shifts by matching underlying prep and cement to your esthetic plan.
Instruments & Settings That Work
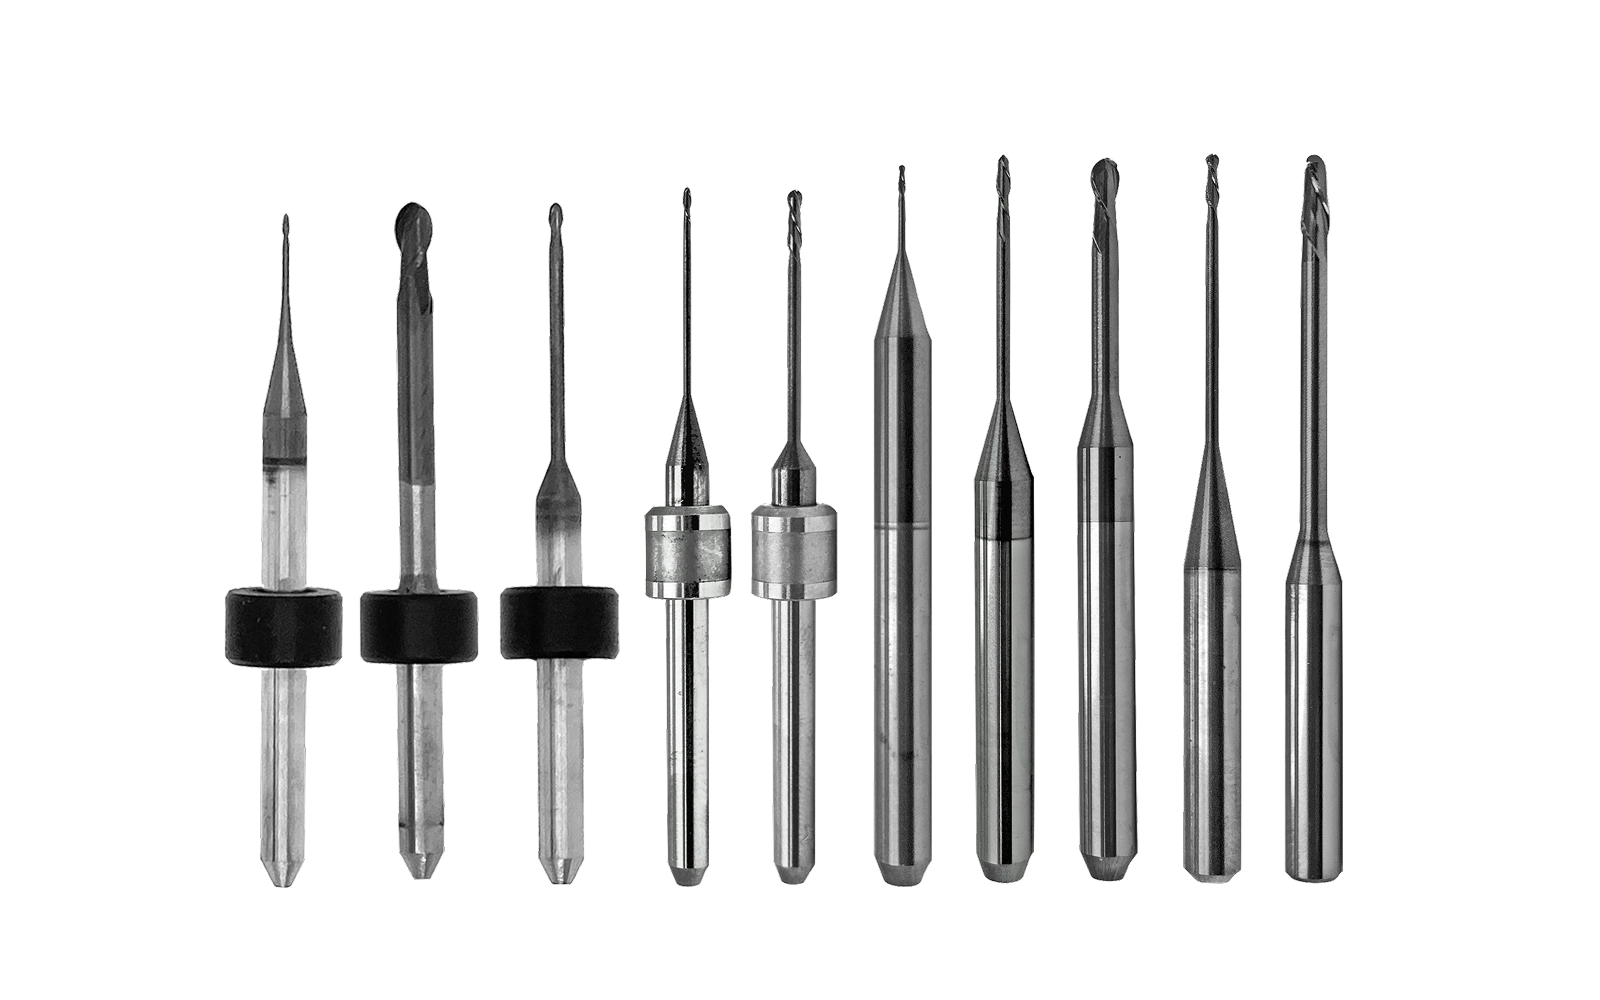
Use only fine diamonds (red/white/yellow stripe) for zirconia adjustments; reserve medium or coarse diamonds for emergencies—they leave deep grooves that are hard to polish out. For controlled contouring, use zirconia adjustment stones on a slow-speed straight handpiece, and always work under water coolant with feather-light pressure to limit heat and prevent subsurface micro-damage.
A Simple, Repeatable Polishing Protocol (2 steps, ~2 minutes)
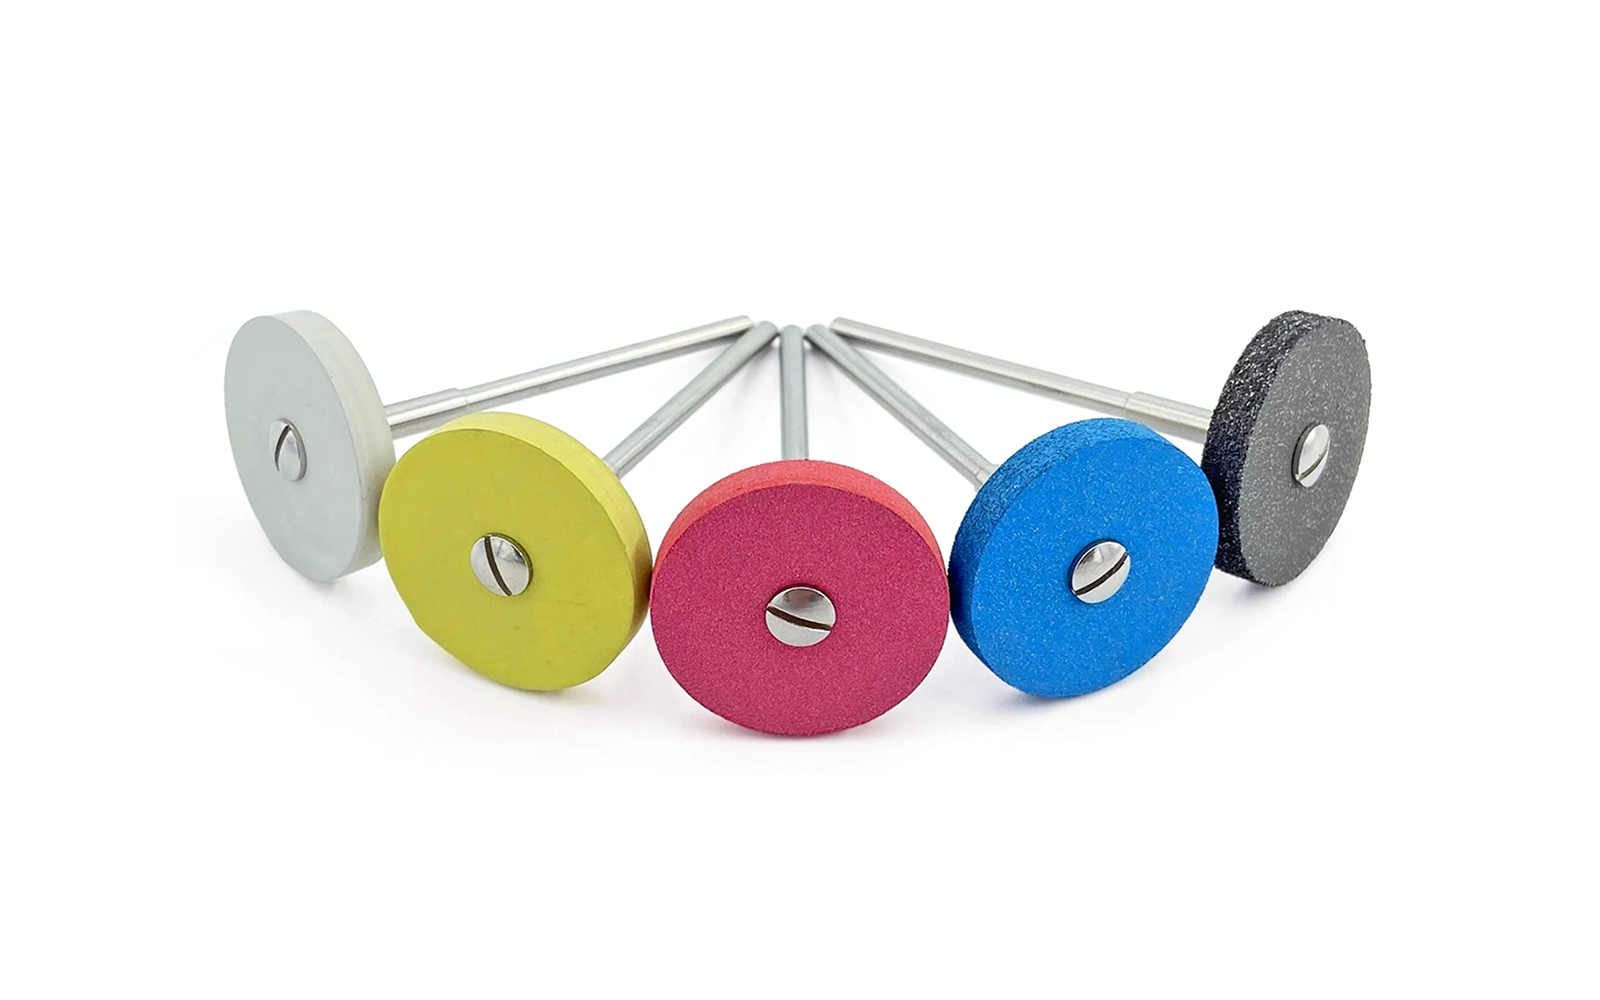
Pre-polish (30–60 s). Rubberized zirconia polisher (medium→fine) at recommended RPM with intermittent water. Goal: remove diamond tracks; achieve uniform satin sheen.
High-shine finish (60–90 s). Diamond polishing paste (≈1–3 μm) on a soft felt or goat-hair wheel. Light pressure, keep moving, refresh paste as needed until you see a glassy, mirror finish.
Pro tip. If you ever had to use a medium/coarse diamond, add one extra minute of pre-polish to fully erase deep scratches before the paste step.
Glaze vs. Polish: What to Choose?
Polished zirconia typically maintains smoothness longer because there’s no superficial glaze layer to wear away. Glaze can be used for luster but may lose gloss under function; if used, finish with a light repolish at follow-up.
Special Notes by Material Class
Ultra-translucent. Treat gently—more esthetic, but more notch-sensitive. Keep edges rounded; avoid point pressure.
High-strength. More forgiving, but still require coolant and fine abrasives to prevent micro-damage.
Layered/painted effects. Excessive grinding removes surface characterization—communicate with the lab if a re-glaze or stain is needed after major corrections.
Common Mistakes to Avoid
- Using coarse diamonds on zirconia → entrenched scratches, antagonist wear.
- Dry grinding or heavy pressure → heat, phase changes, micro-cracks.
- Skipping final paste → matte surface that still abrades enamel.
- Sandblasting after polishing → re-roughens the surface; if you must sandblast a bonding area, re-polish adjacent zones.
Quick Chairside/Labside Checklist
- Fine diamond or zirconia stone only
- Water coolant, intermittent strokes, feather-light pressure
- Pre-polish with rubber polishers
- High-shine with diamond paste (1–3 μm)
- Verify occlusion in MIP and excursions; re-touch and re-polish as needed
Need materials fast for upcoming cases?
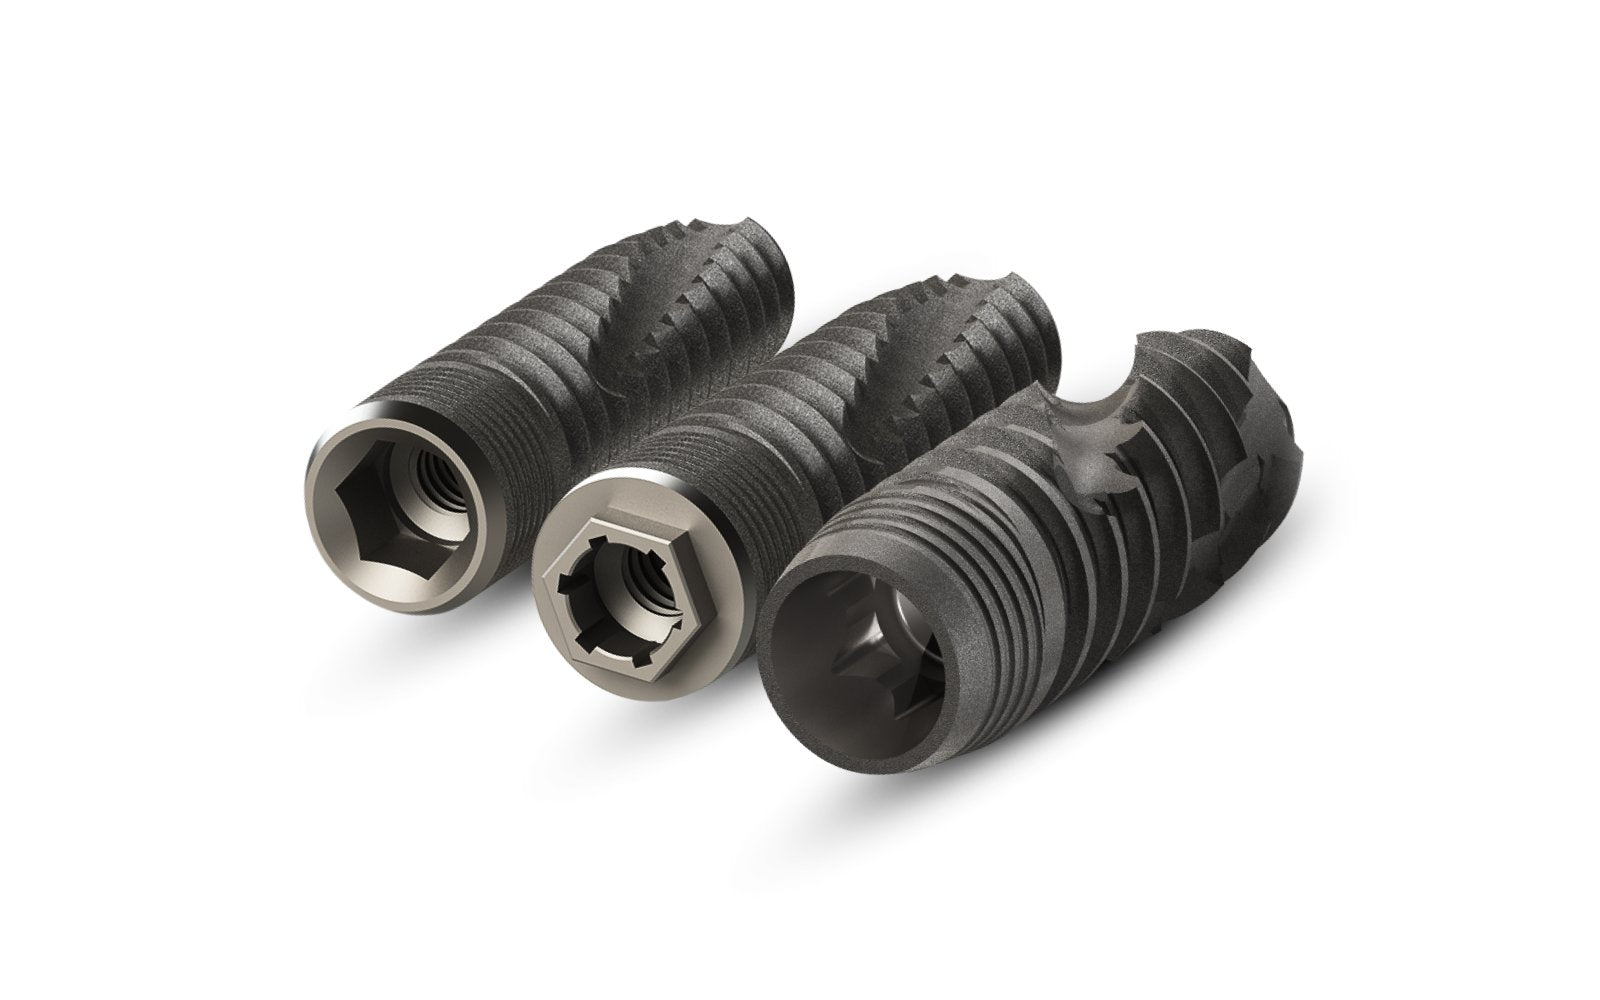
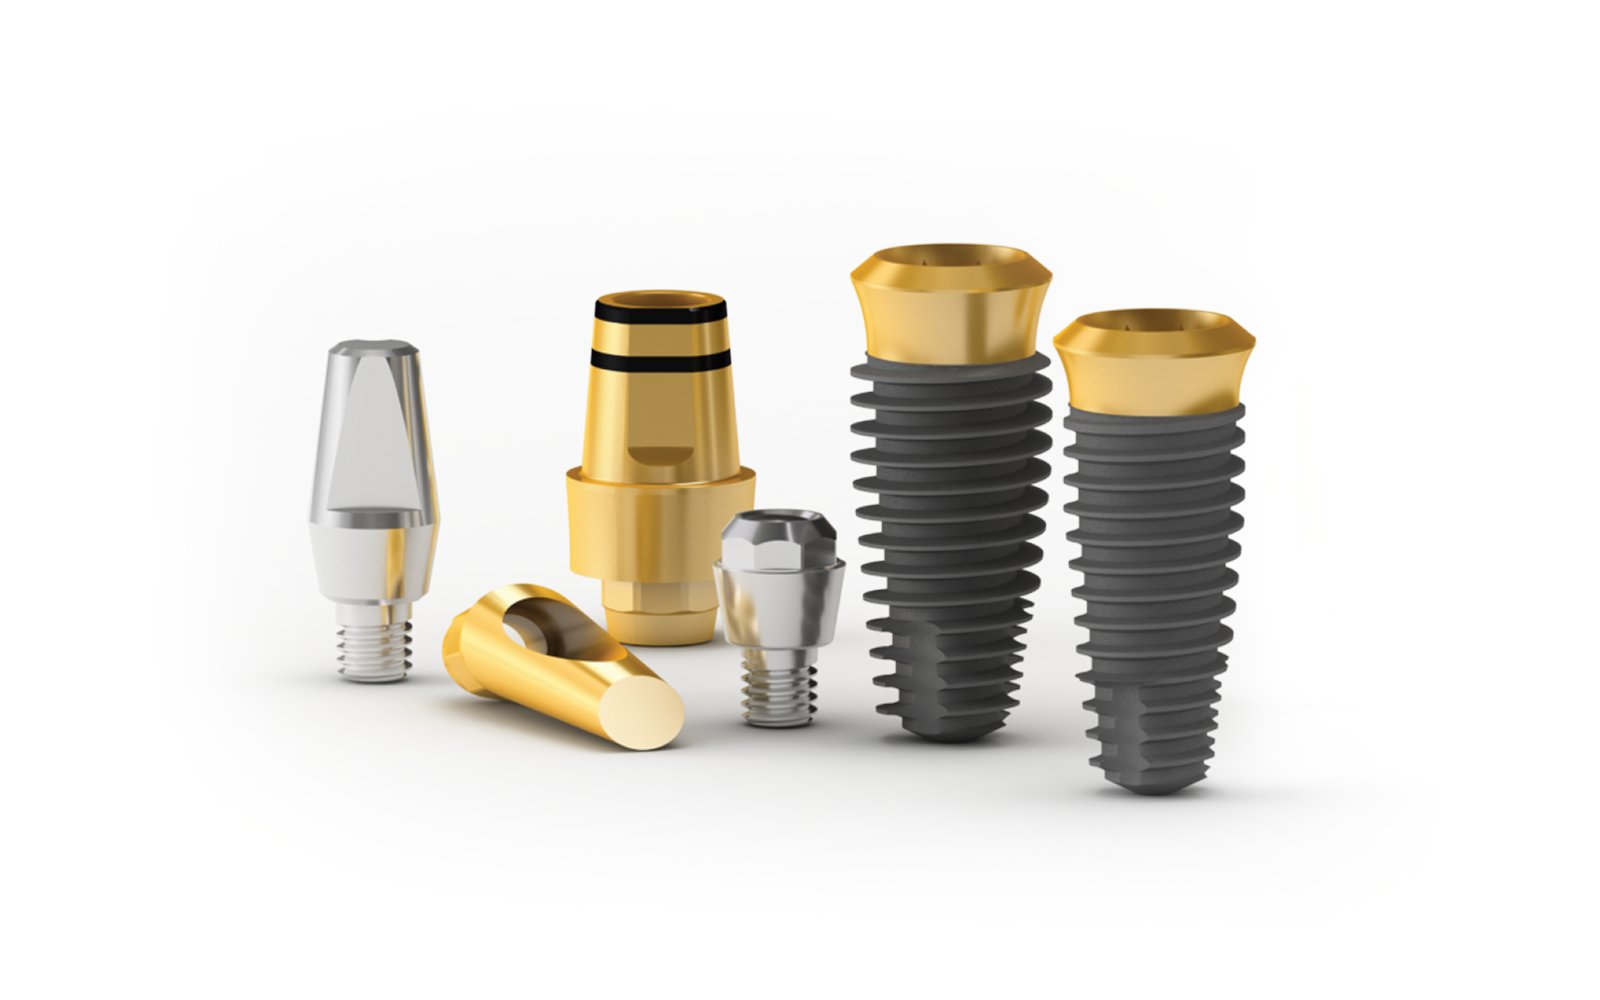
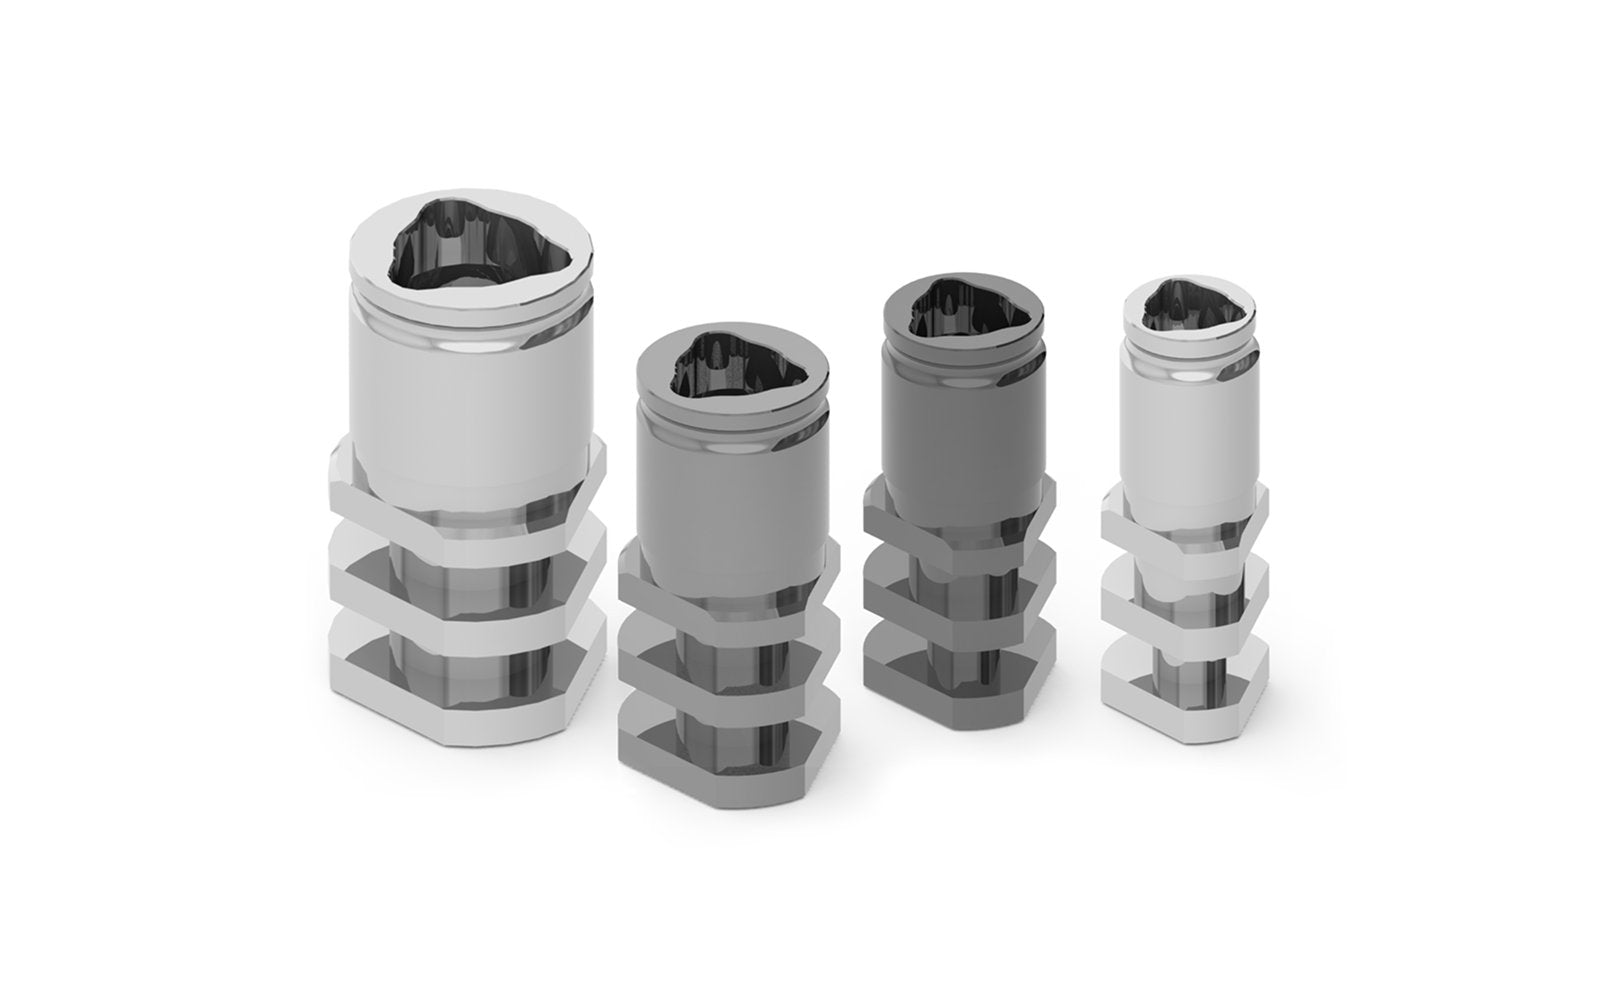
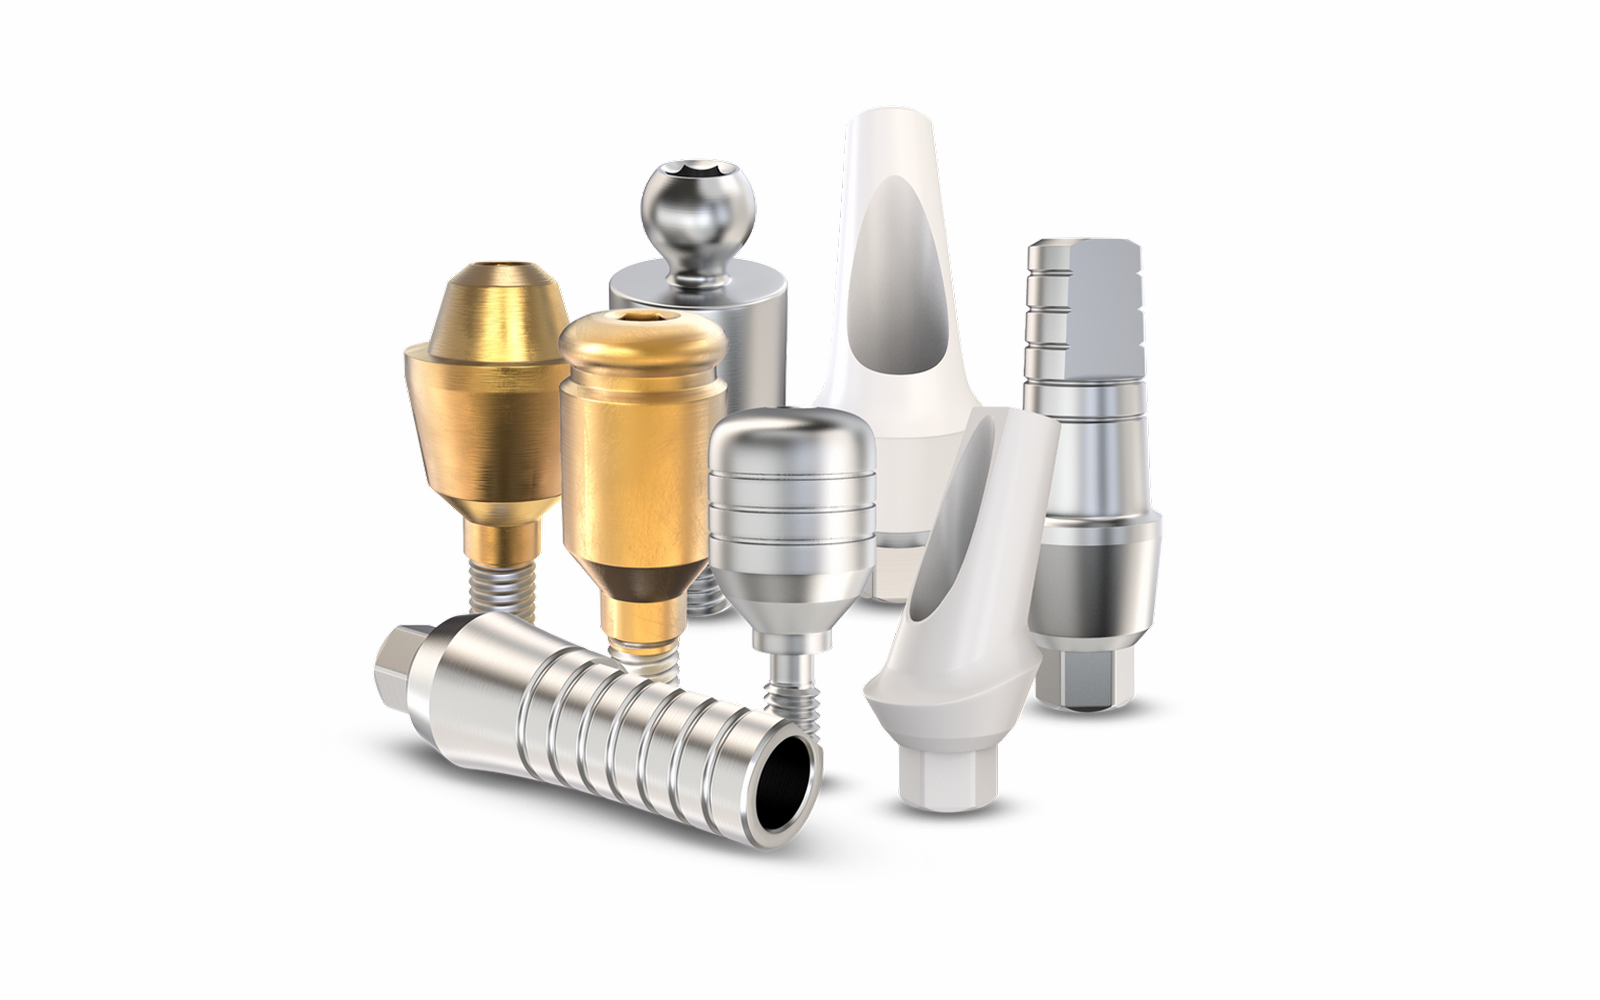
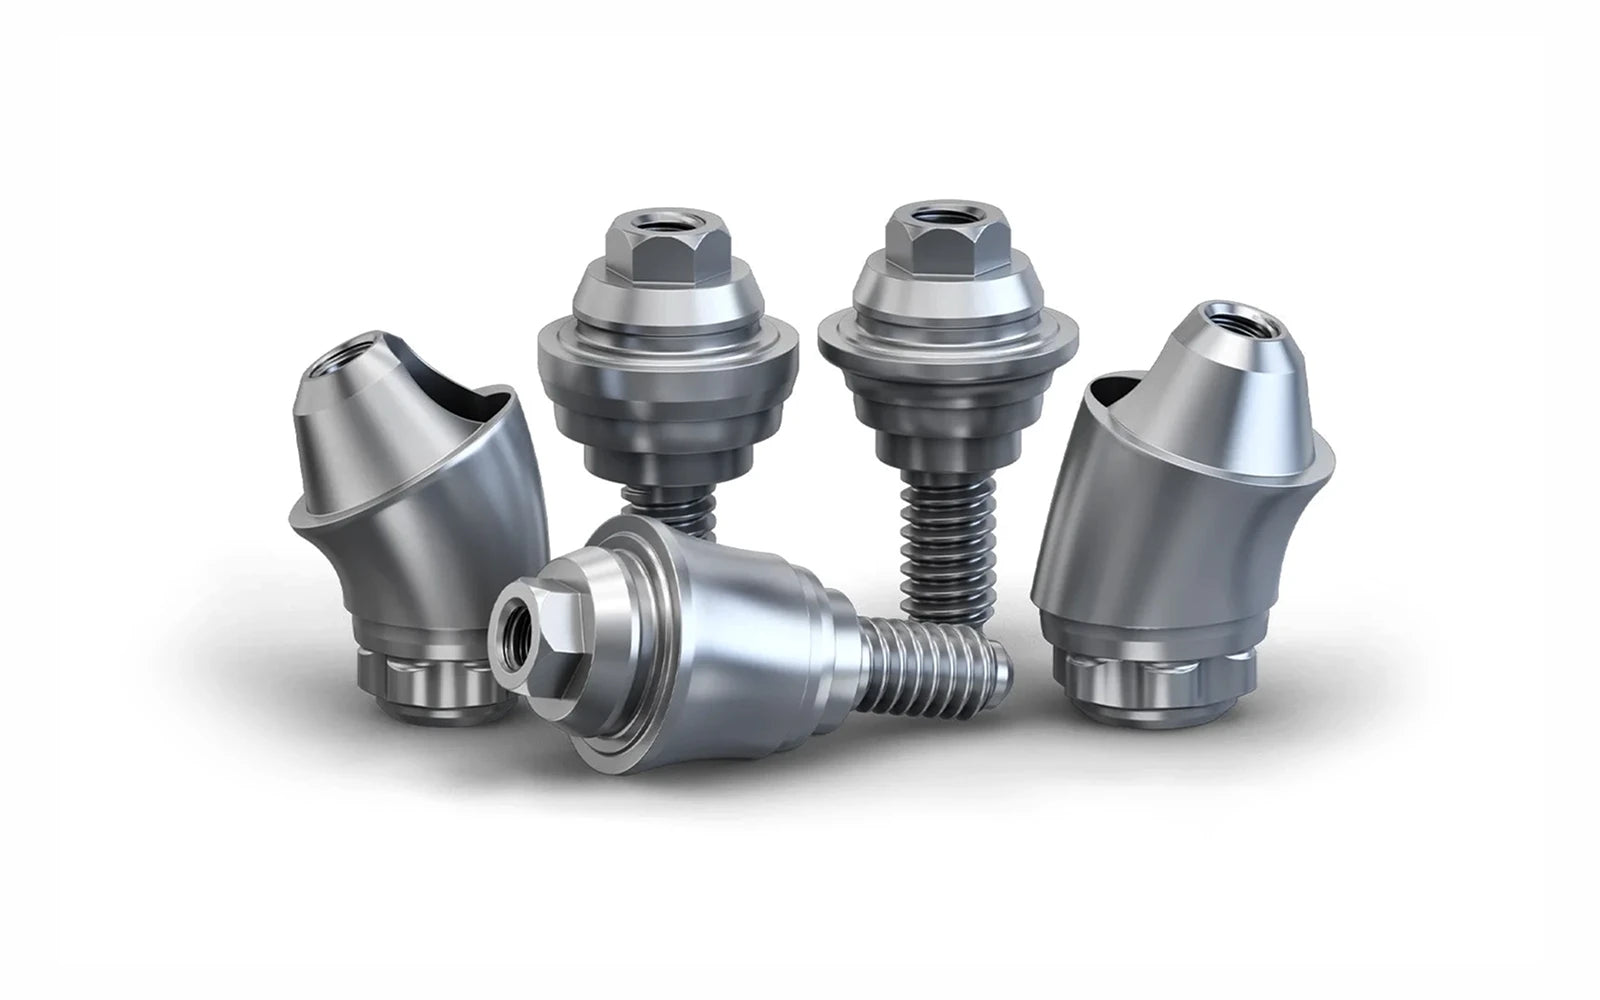
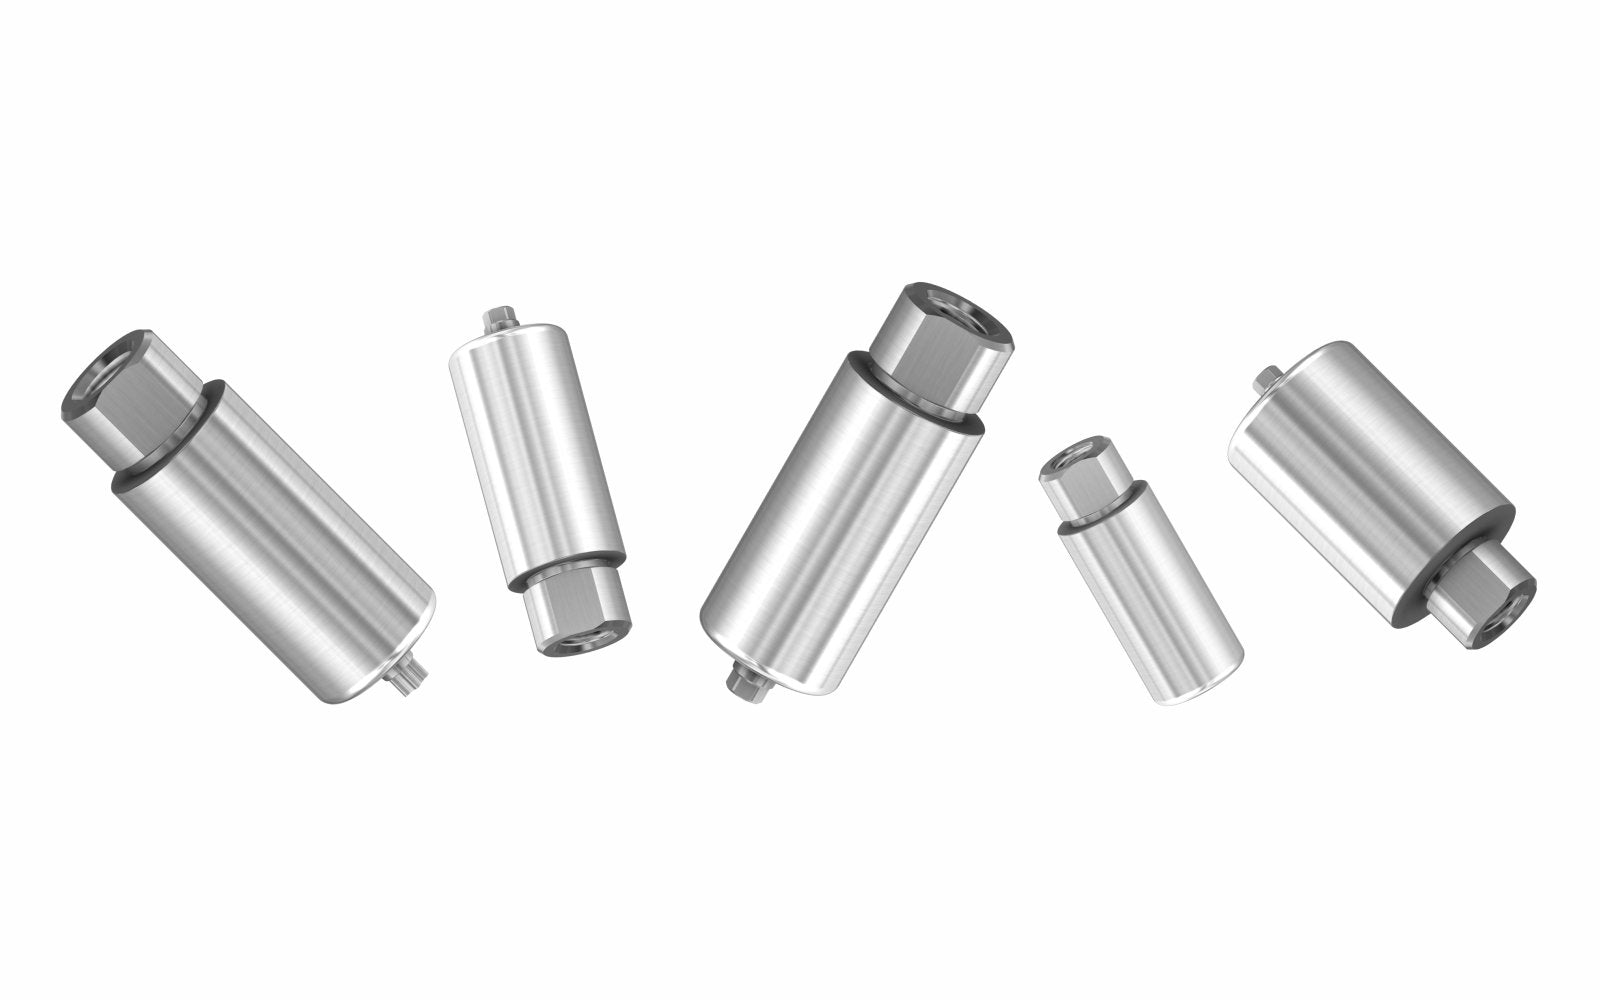
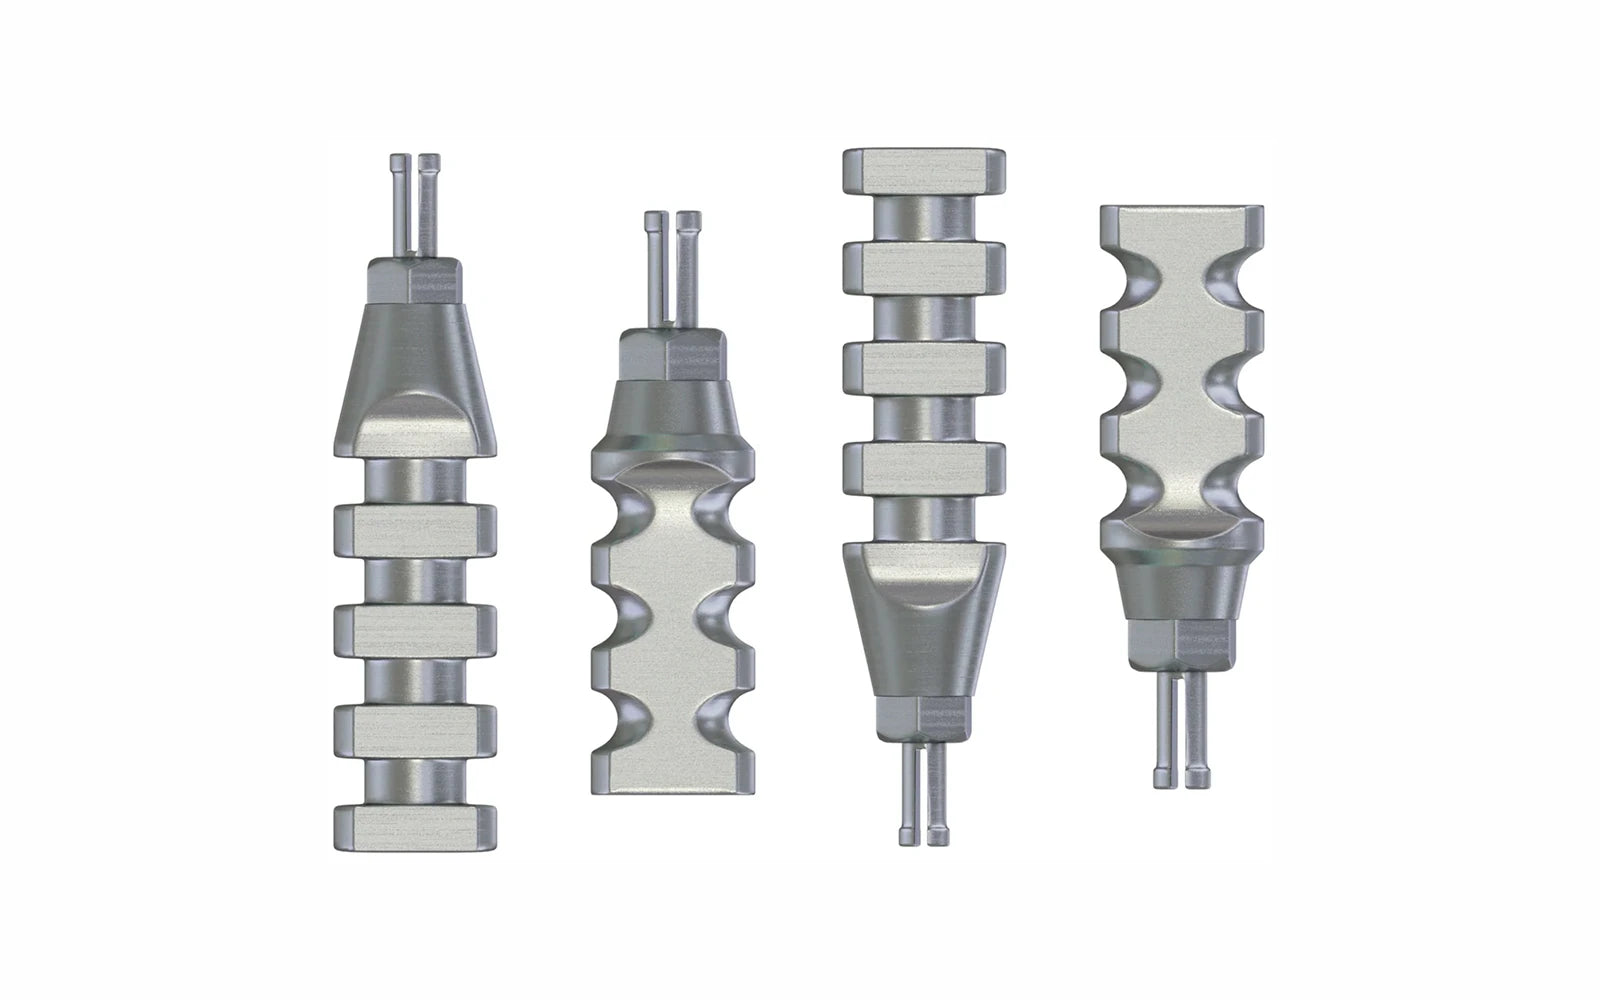
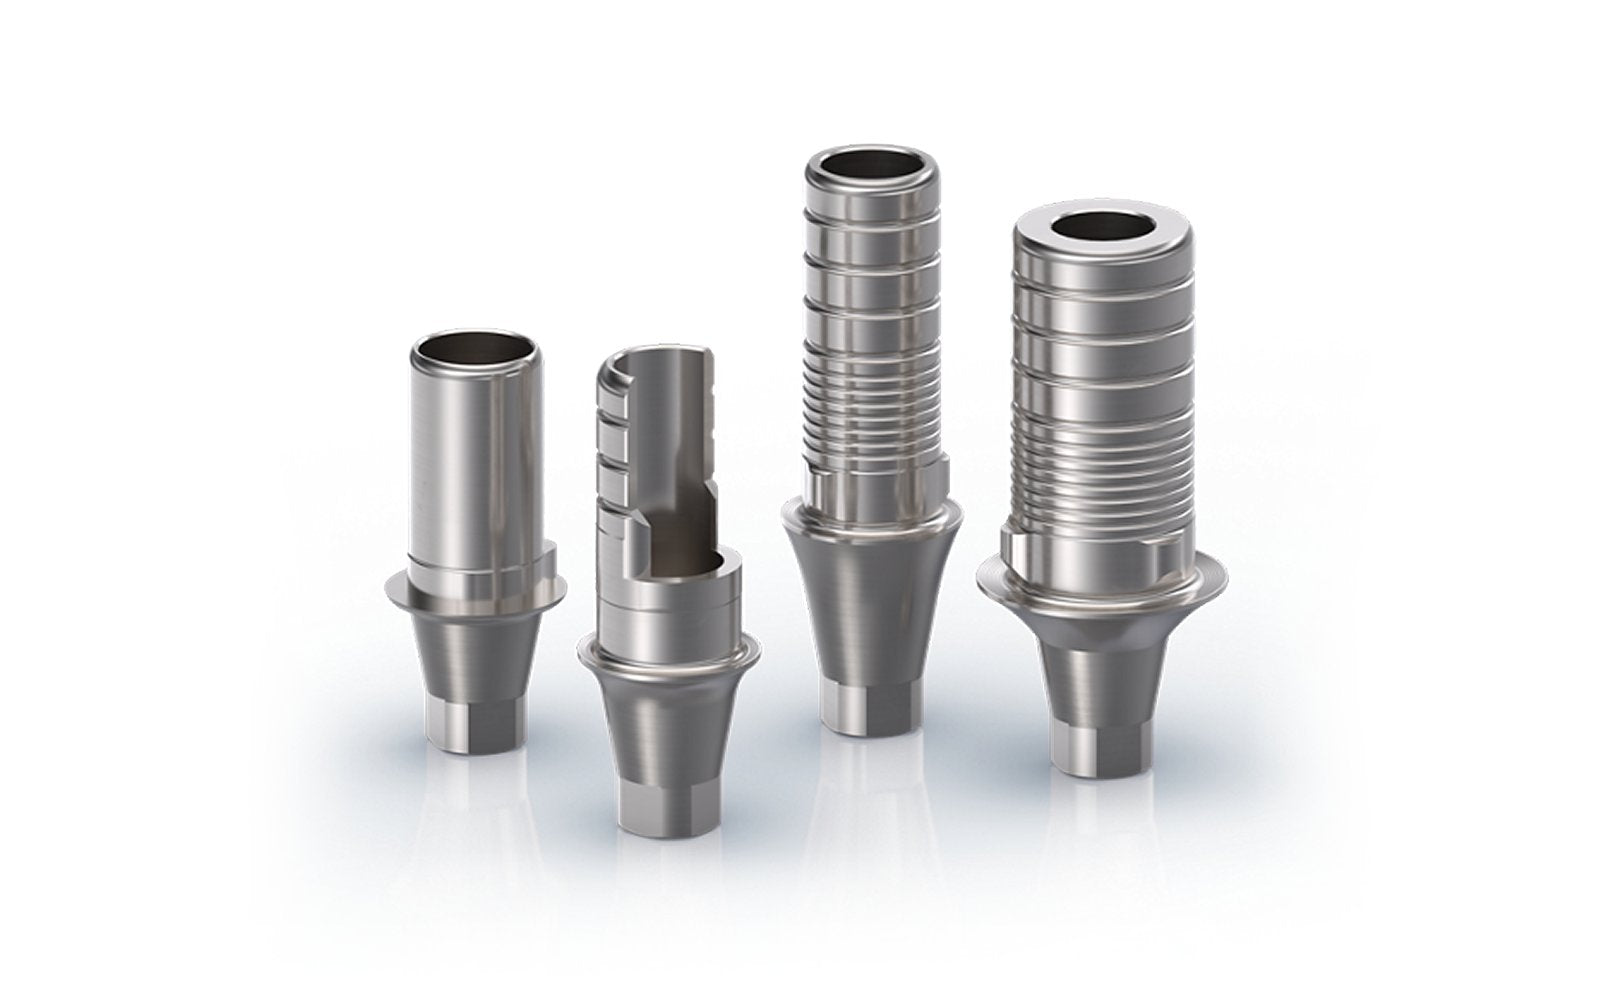
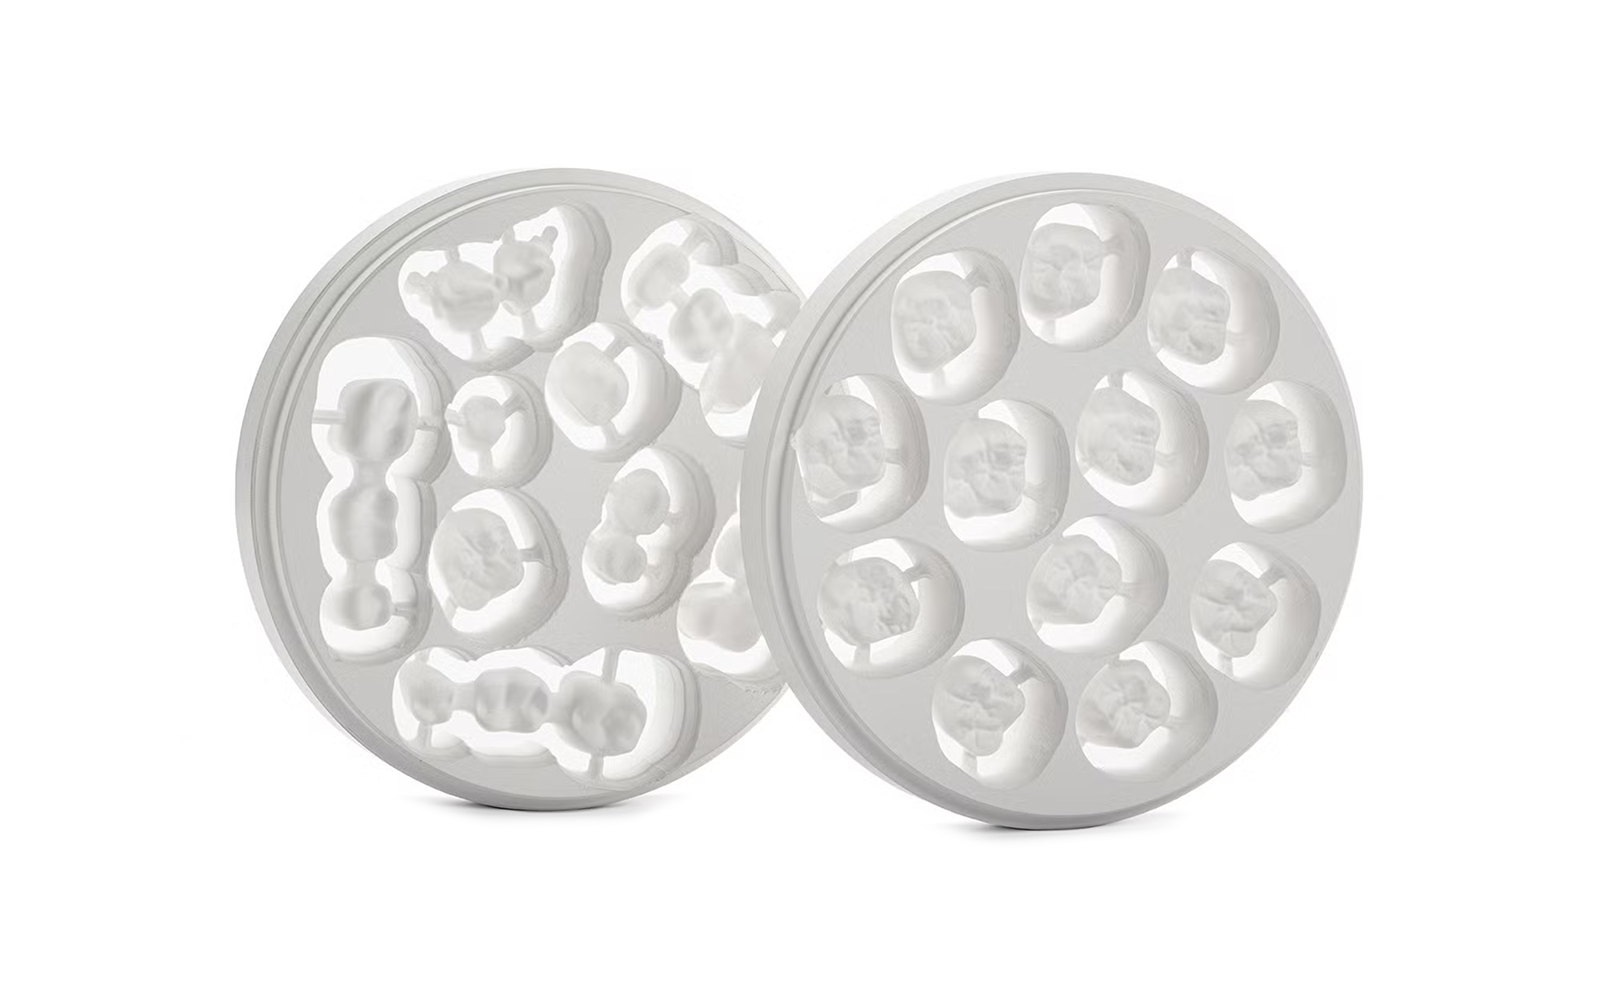
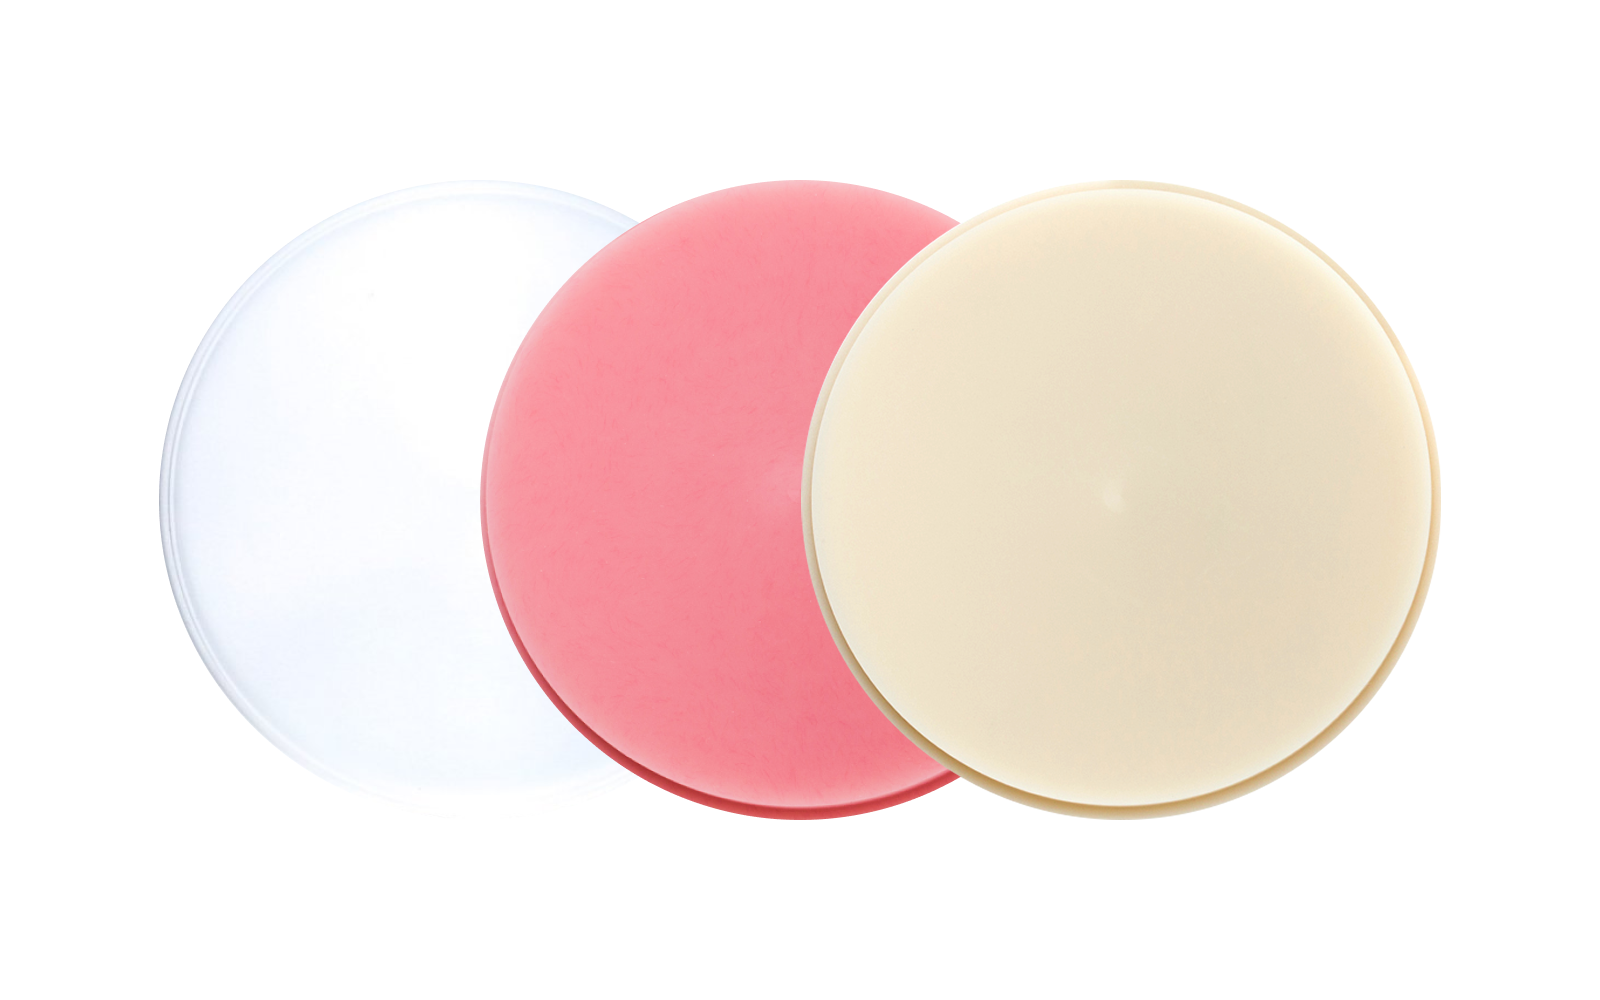
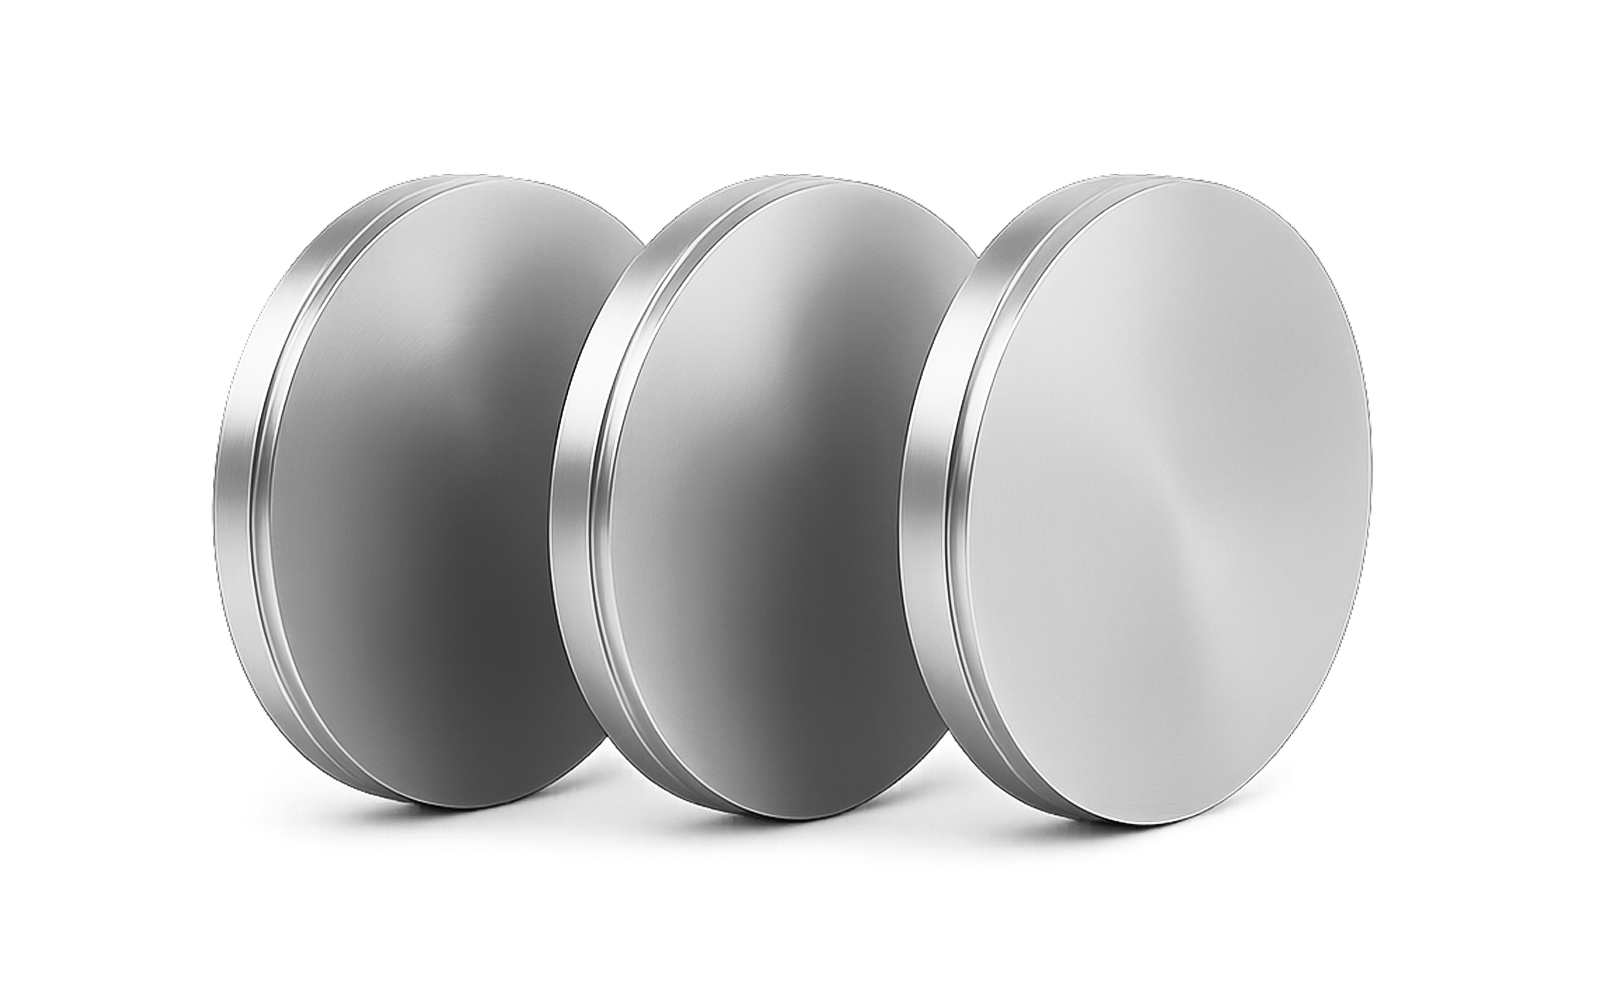
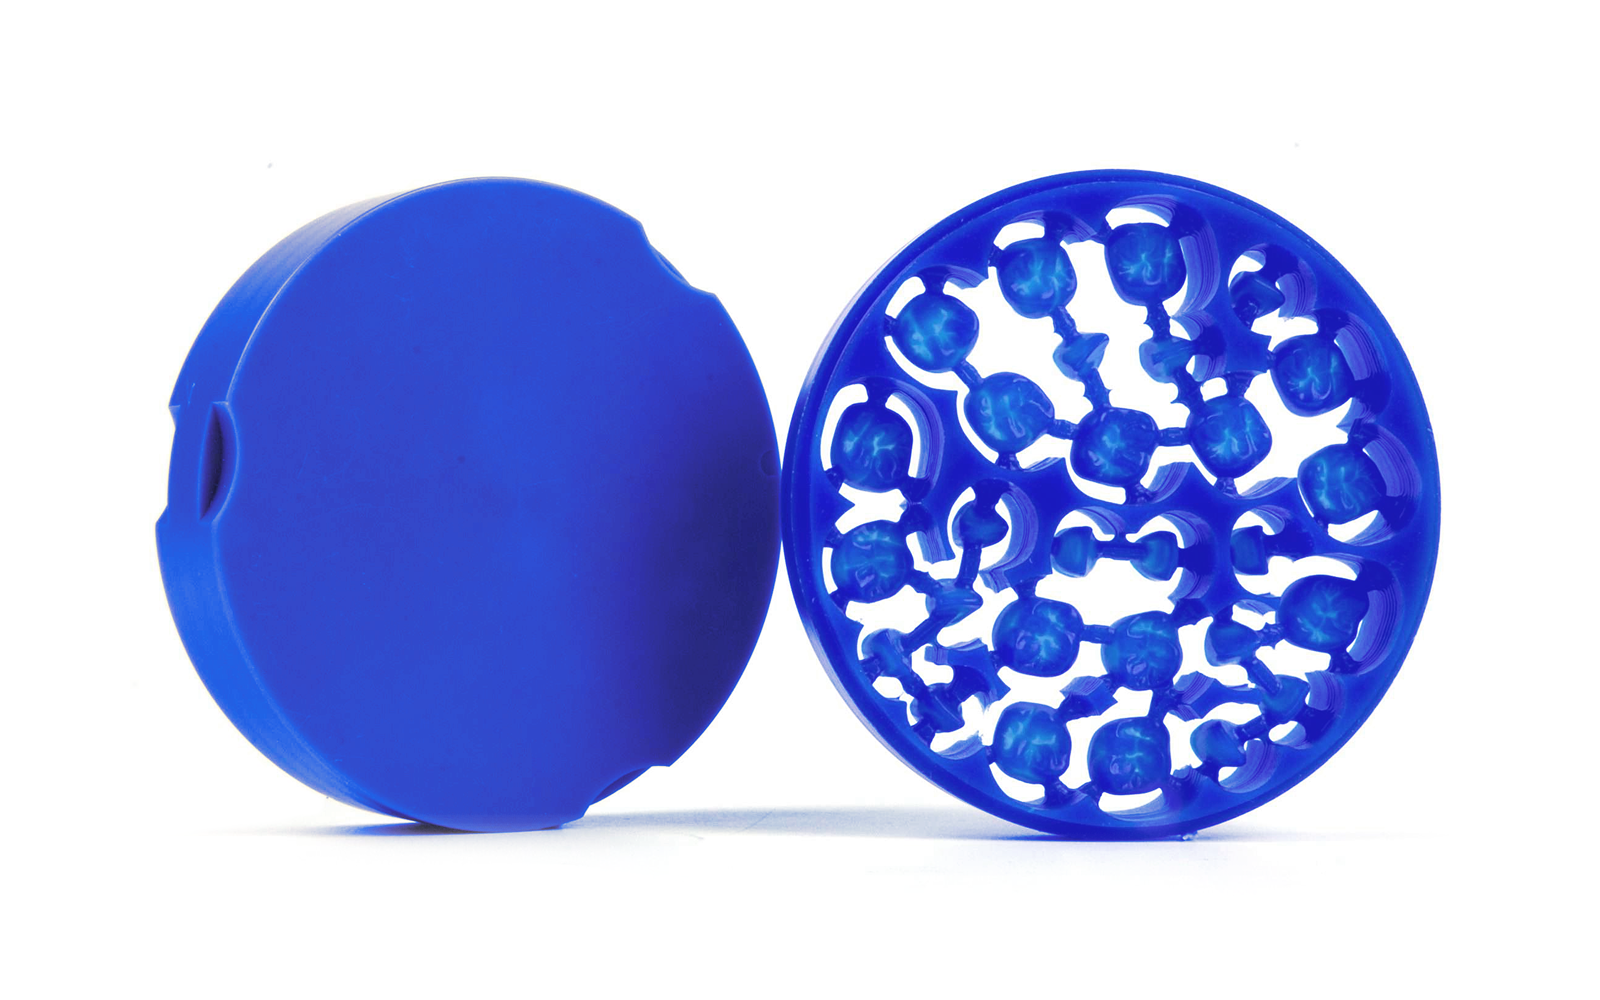
Order implants and components, zirconia/titanium/PMMA milling discs, titanium blanks, abutments, analogs, Ti-bases, burs, and polishers with same-day processing and volume pricing. Call our team now for quick answers and a tailored recommendation.
Call Us: (877)-335-5221