

PFM (porcelain-fused-to-metal) crowns still have a place in modern, scan-driven dentistry—especially when you want time-tested strength. The key to predictable outcomes in a digital pipeline is clear margins, adequate reduction, and scan discipline that makes your lab’s job straightforward.
When PFM still makes sense
PFM remains a reliable option for posterior strength and functional durability. In highly esthetic zones you’ll often favor monolithic alternatives (e.g., zirconia or lithium-disilicate), but for many posterior cases PFM is a solid choice—provided the prep allows space for the metal substructure + opaquer + porcelain stack.
Digital-first principles that reduce remakes
-
Margin clarity: Choose a shoulder or chamfer that scans cleanly; avoid feather/knife-edge margins (hard for scanners to capture).
-
Soft-tissue control: Pack cord (often double-cord) so the margin is visible 360°.
-
Dry, clean field: Eliminate blood/saliva/debris on the prep, adjacent contacts, and opposing.
-
Scan habits: Capture full arches; keep cheek/tongue/gloves out of view; use a tight interproximal pass; re-localize on a familiar occlusal surface if tracking pauses.
-
Verify before you dismiss: Confirm margin readability, interproximal contacts, accurate bite, overall reduction, path of insertion, and shade/photos.
Step-by-step PFM prep in a digital pipeline
-
Provisional plan: Take a pre-op impression/scan for the provisional (most cases benefit).
-
Tooth reduction: Prep with diamonds that create obvious, continuous margins; round internal line angles.
-
Tissue management: Retract (cord) so the entire finish line is visible.
-
Prepare to scan: Clean, dry, and isolate; confirm no cord/blood obscures the margin.
-
Scan: Full arches plus interproximals; maintain moisture control throughout.
-
Evaluate scans: Margin clarity, smooth interproximal data, accurate centric, adequate material space, path of insertion, shade/photos.
-
Submit + provisionalize: Send the case; seat the provisional; schedule delivery per lab turnaround.
Anterior vs posterior: what changes
-
Anterior: PFM is less common due to esthetics (metal substructure can influence value/chroma at the margin). Consider whether a monolithic option gives a better result.
-
Posterior: Ensure sufficient occlusal/axial reduction for the full PFM stack. Digital workflows often favor shoulder/chamfer margins and clean taper for scan capture and fabrication.
When PFM might not be ideal
-
Inadequate reduction (no space for metal + opaquer + porcelain).
-
Metal sensitivity/allergy.
-
High-visibility esthetic zones where a metal base risks show-through.
A quick lab-friendly QC checklist (before you send)
-
Finish line is continuous, visible 360°, and easily scannable.
-
Adjacent contacts/opposing are fully captured and smooth (not jagged).
-
Bite is accurate bilaterally in centric.
-
You’ve included shade (and photos when indicated).
-
Reduction and path of insertion are appropriate for PFM.
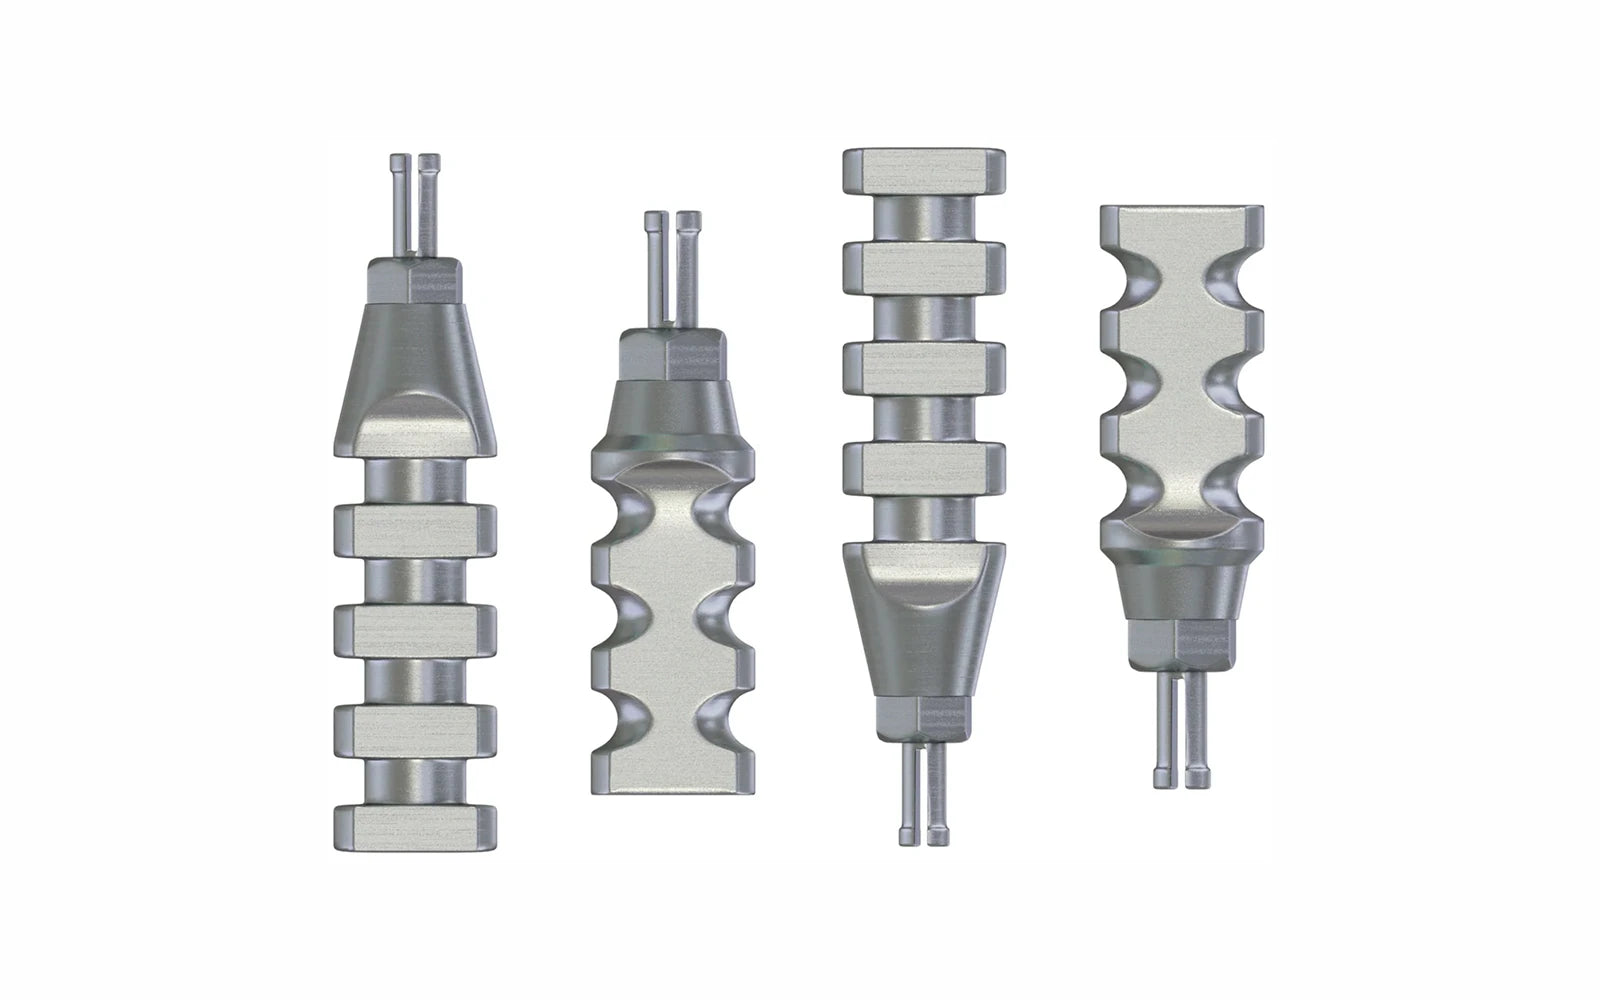
Tools & supplies that help
-
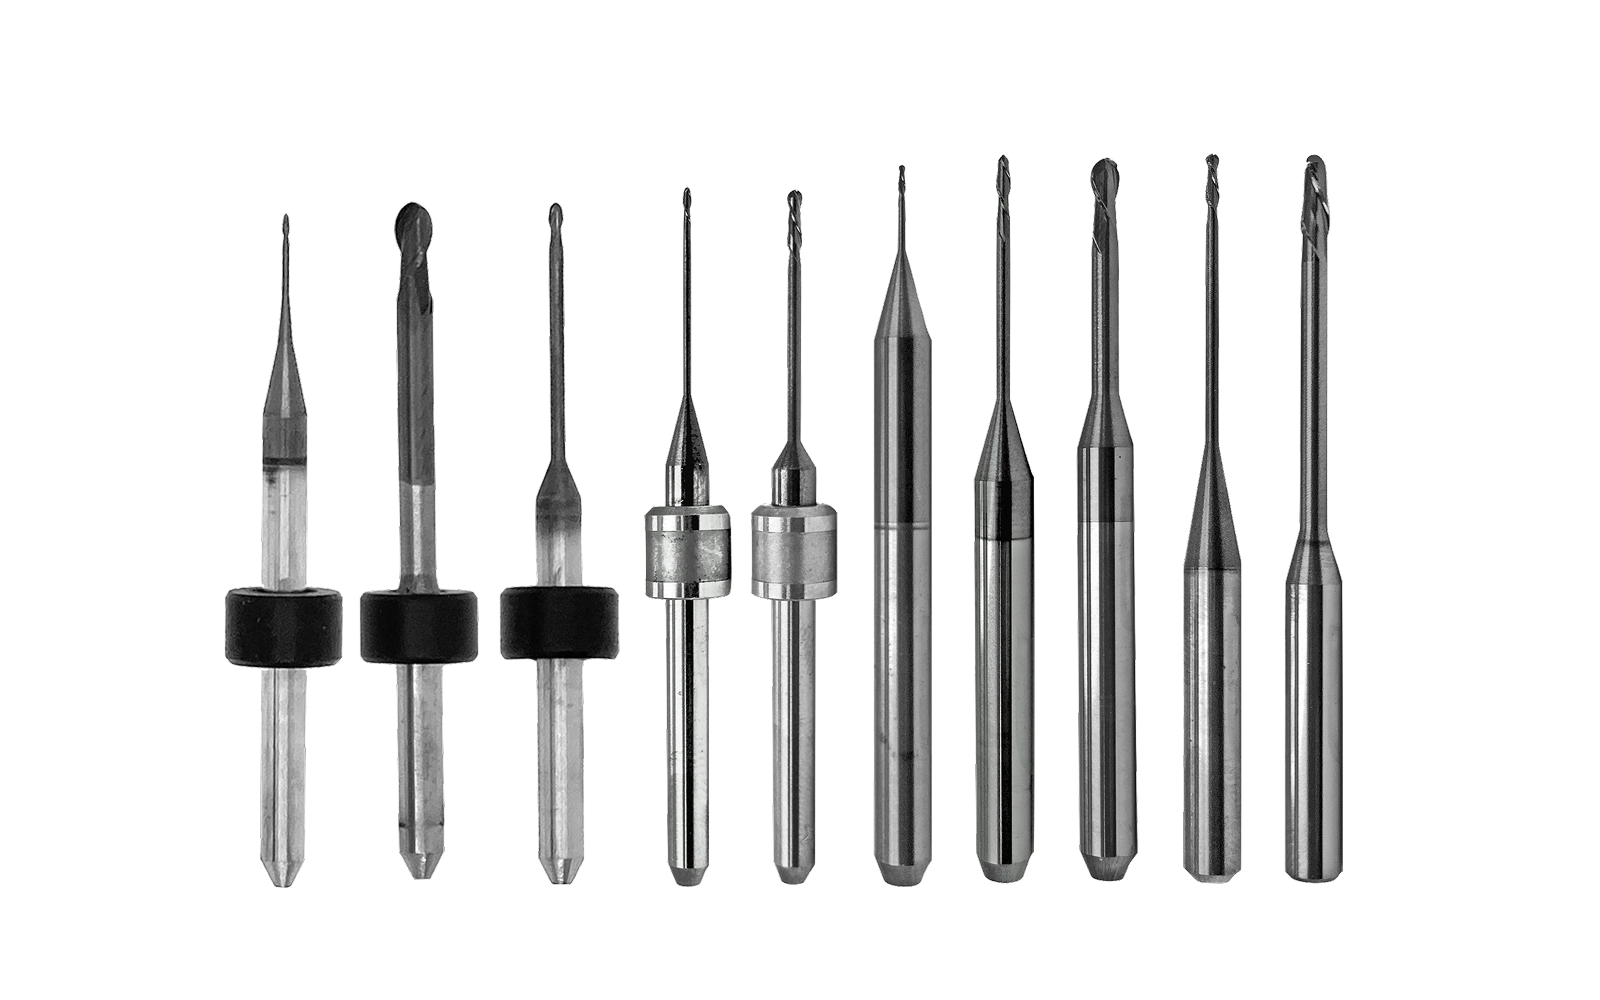
Fine diamond burs for margin/contour
-
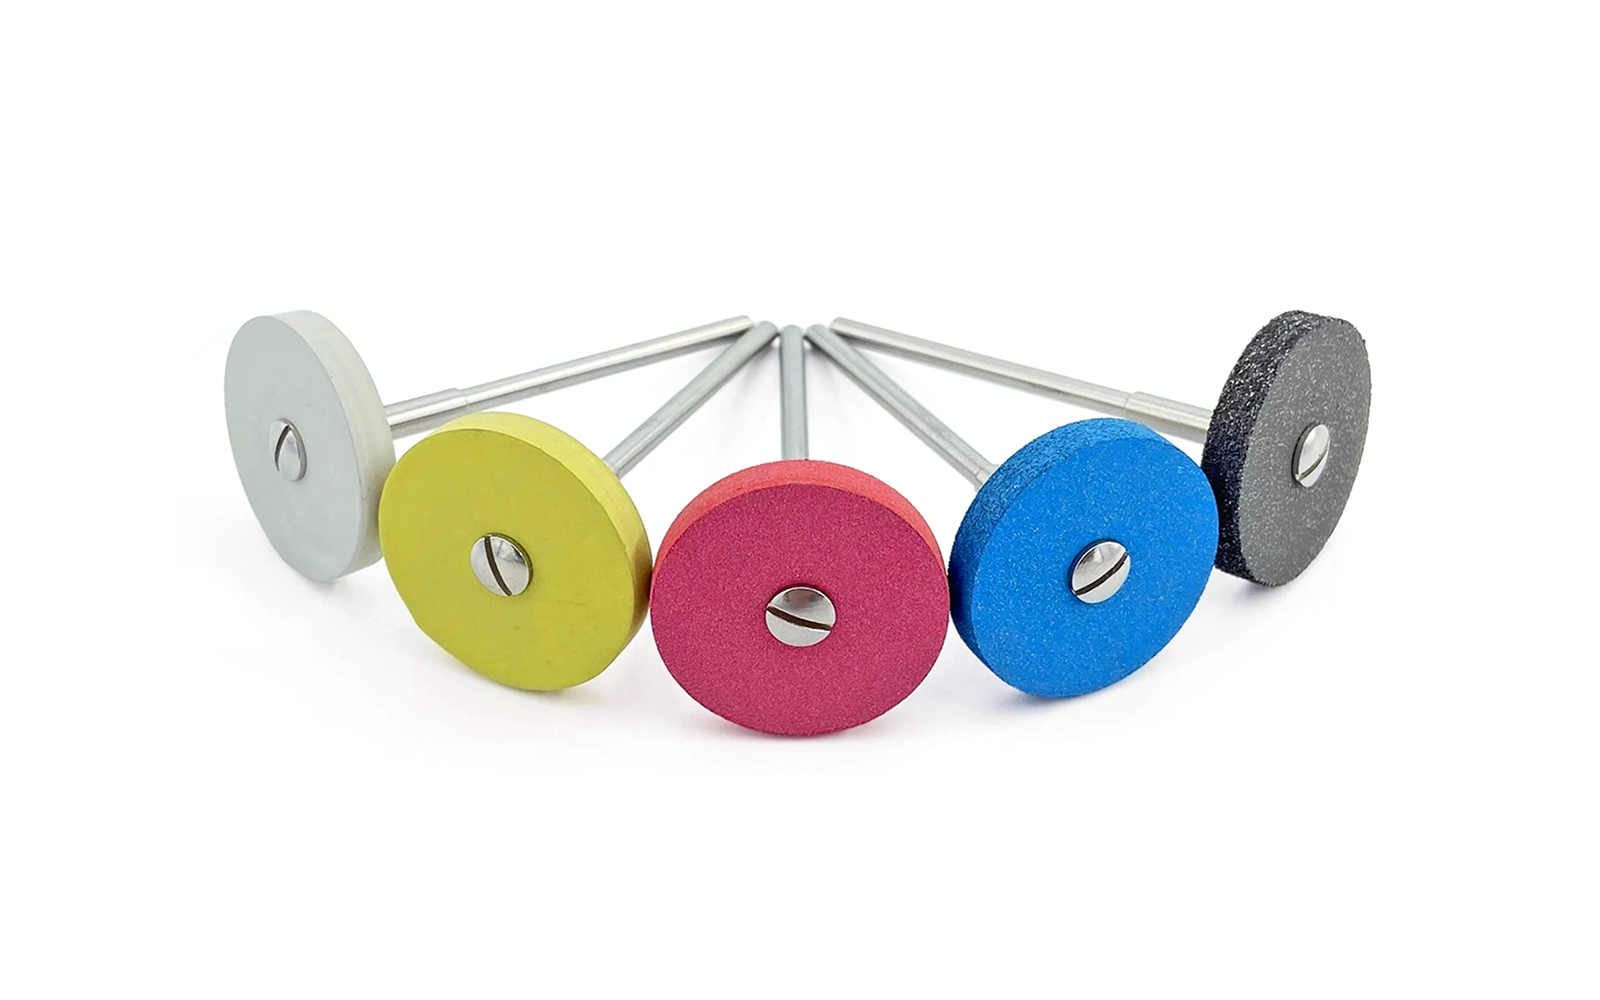
Zirconia/ceramic adjustment stones & polishers for finishing provisionals/adjacent work
-
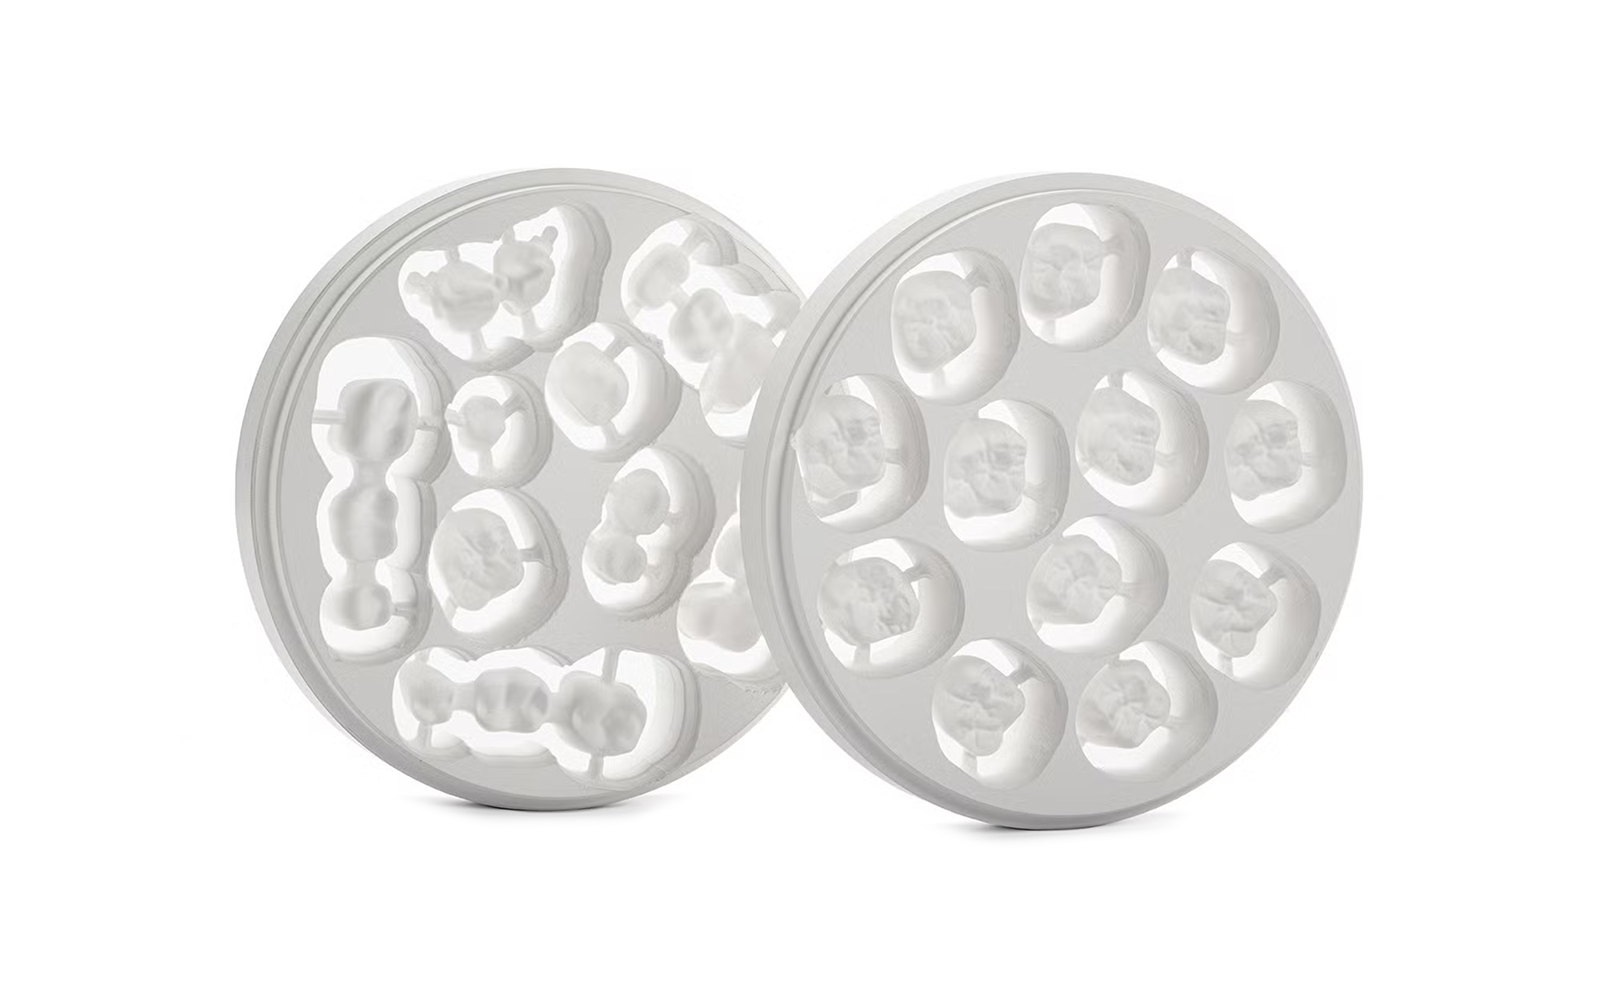
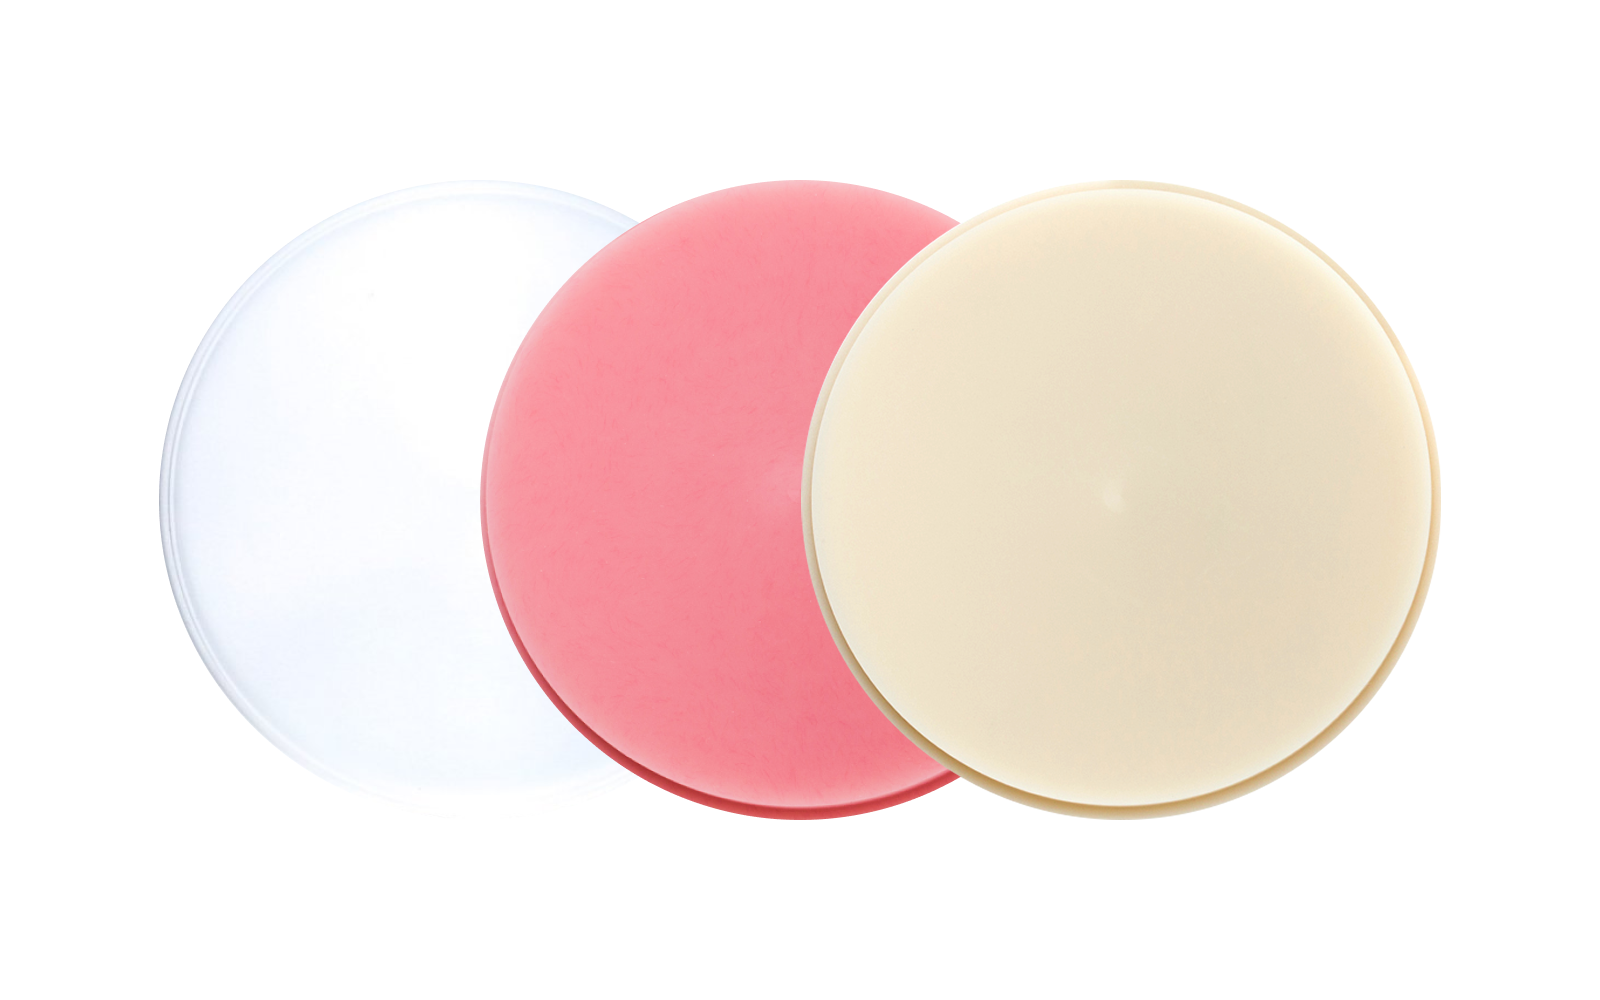
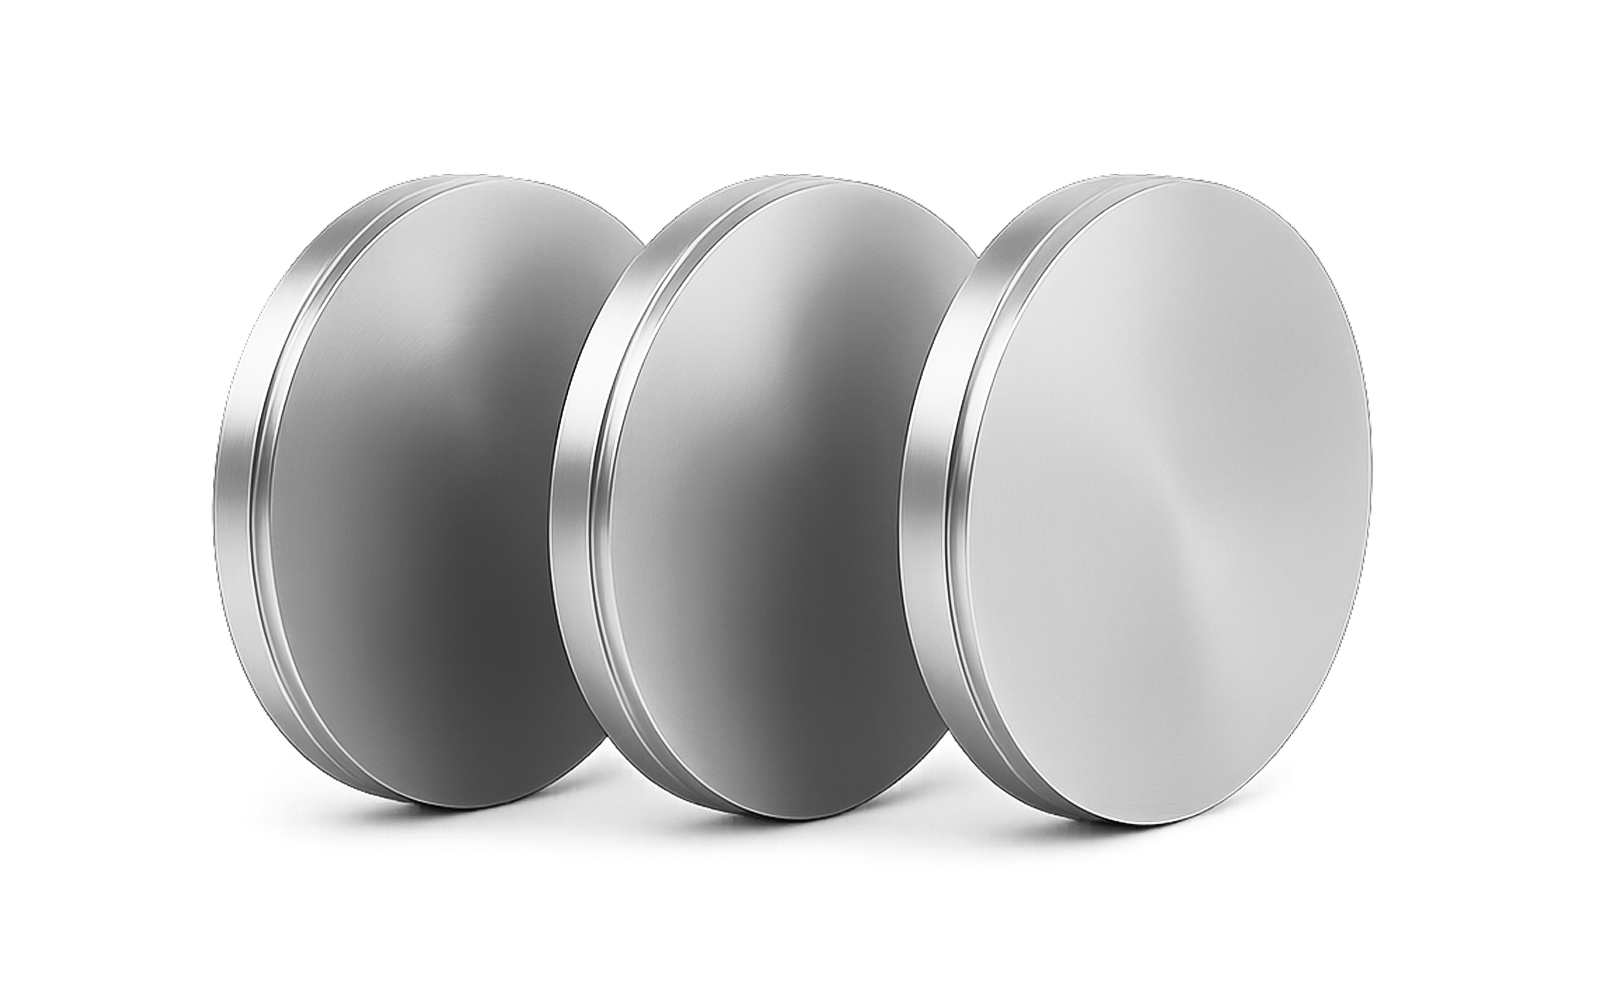
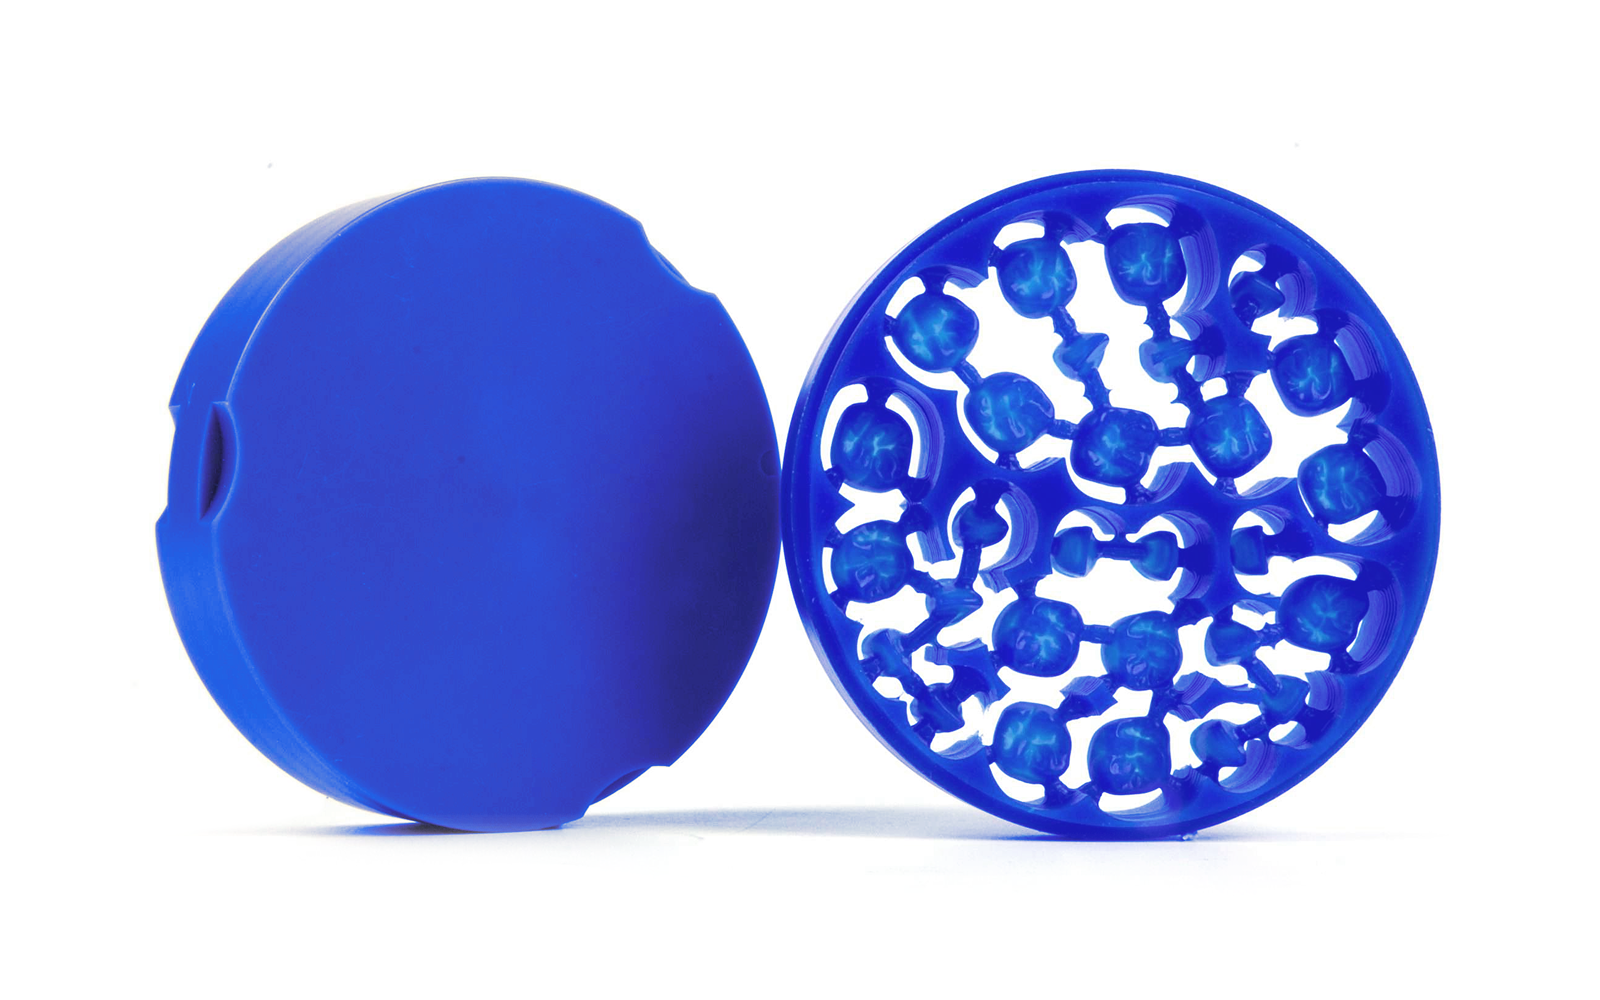
PMMA discs for provisionals & try-ins
-
Wax discs for mockups/occlusion checks
-
Zirconia discs for monolithic alternatives in esthetic zones
Need materials fast for upcoming cases?
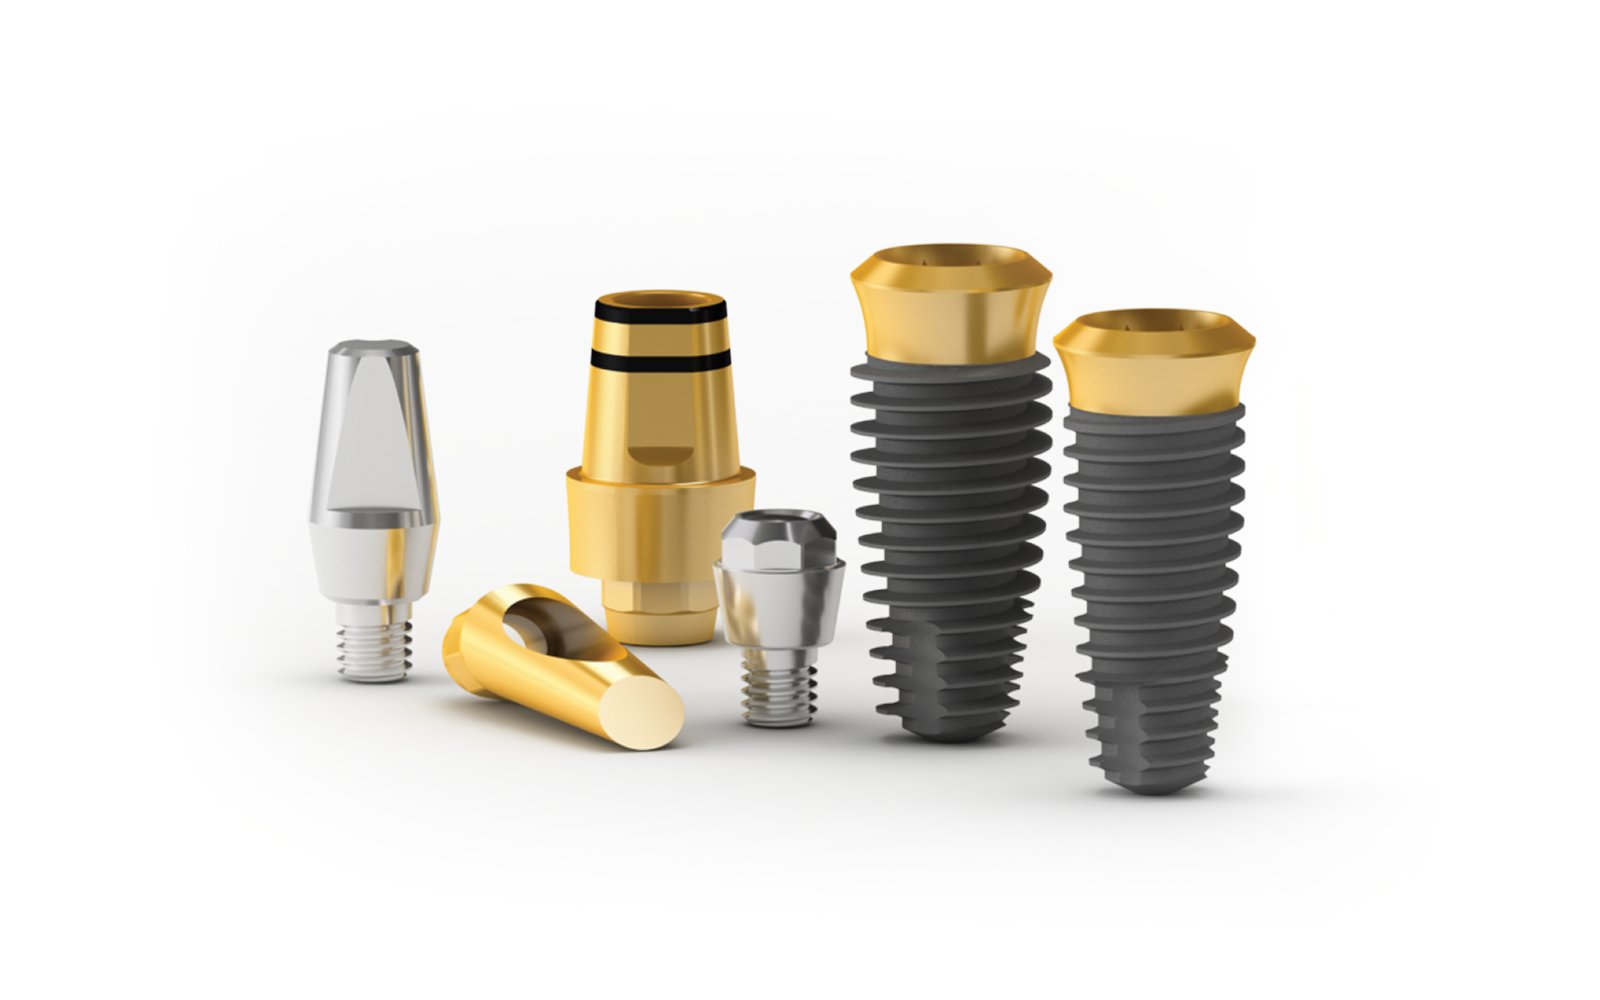
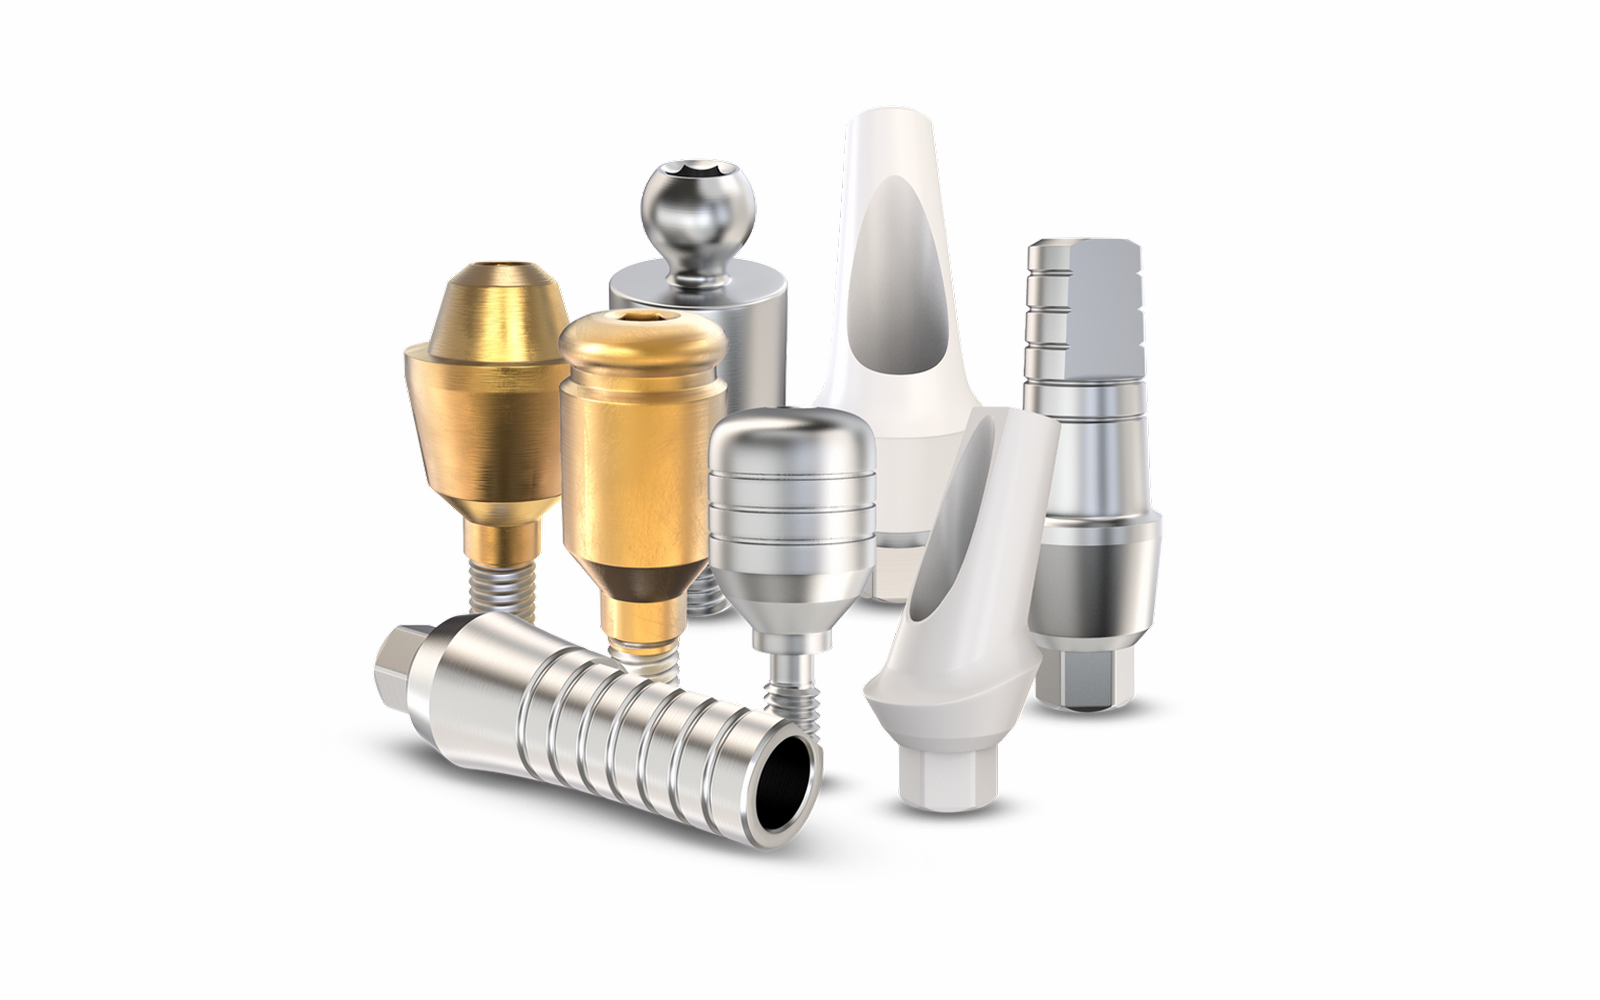
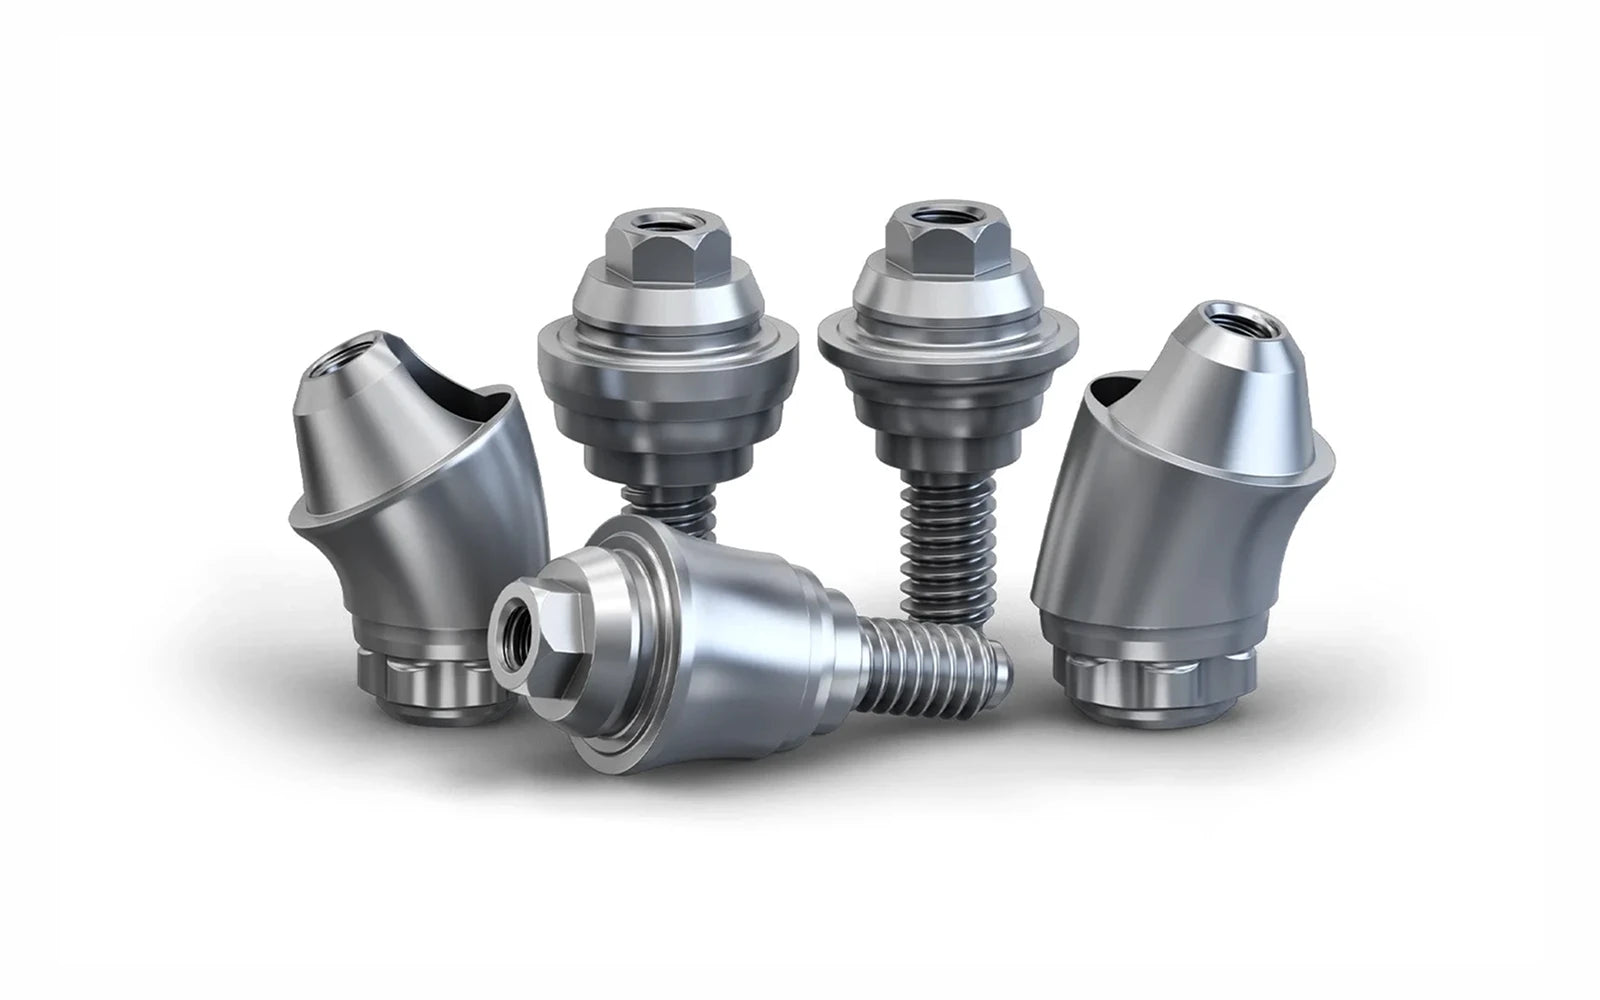
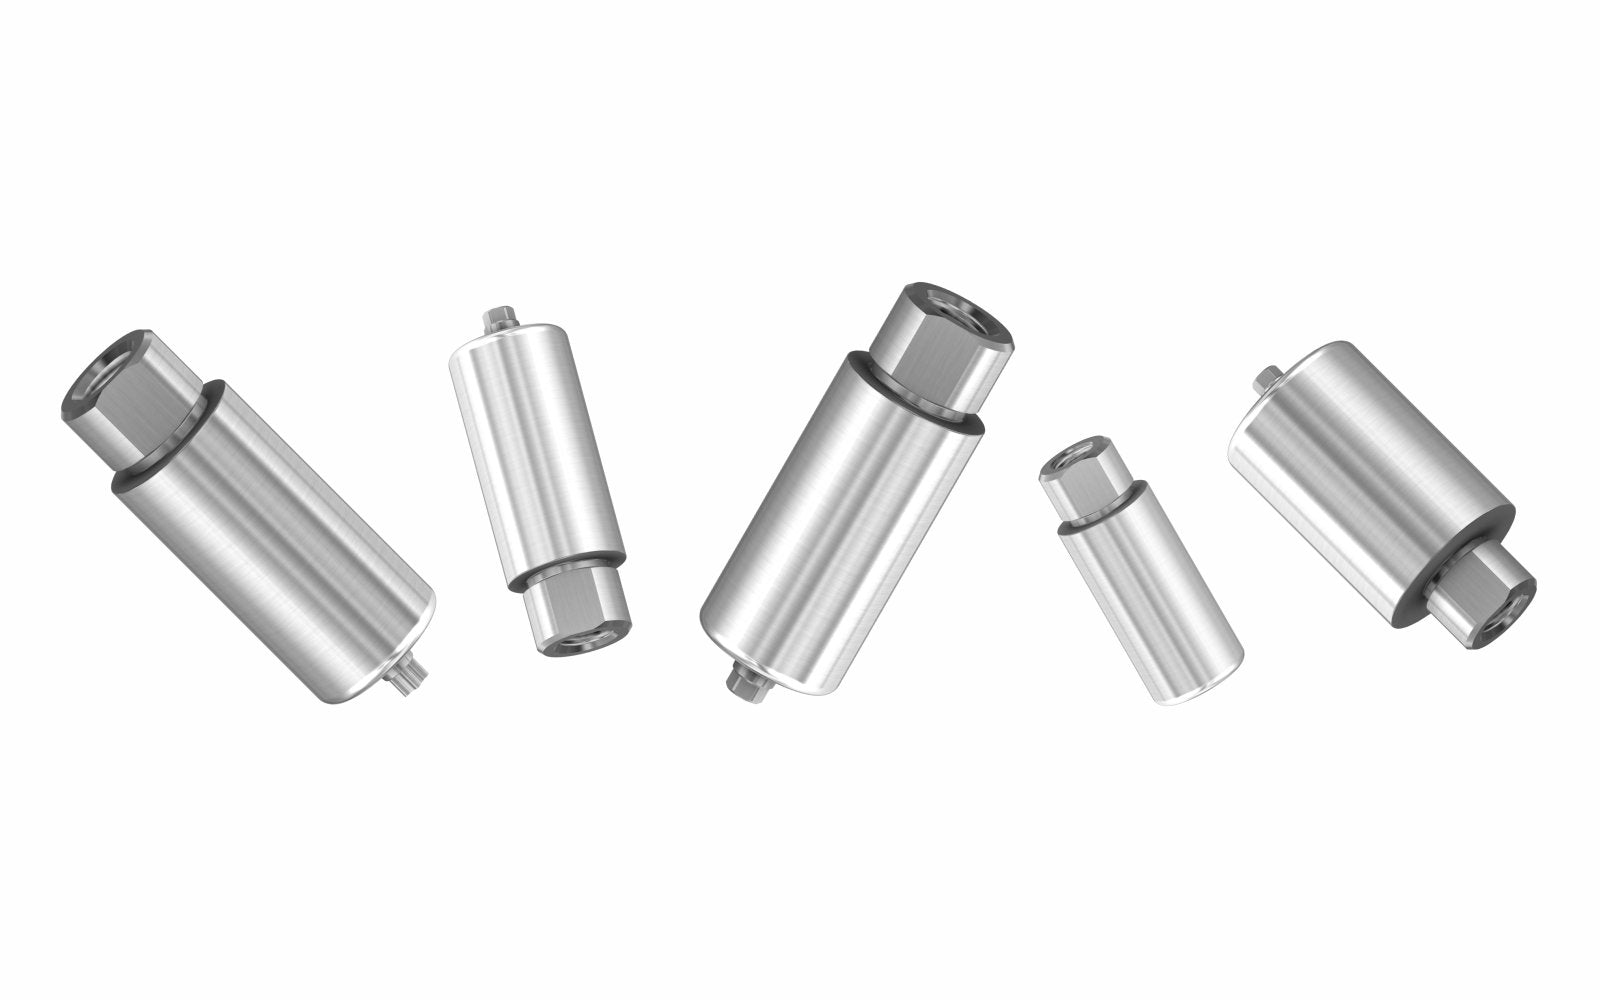
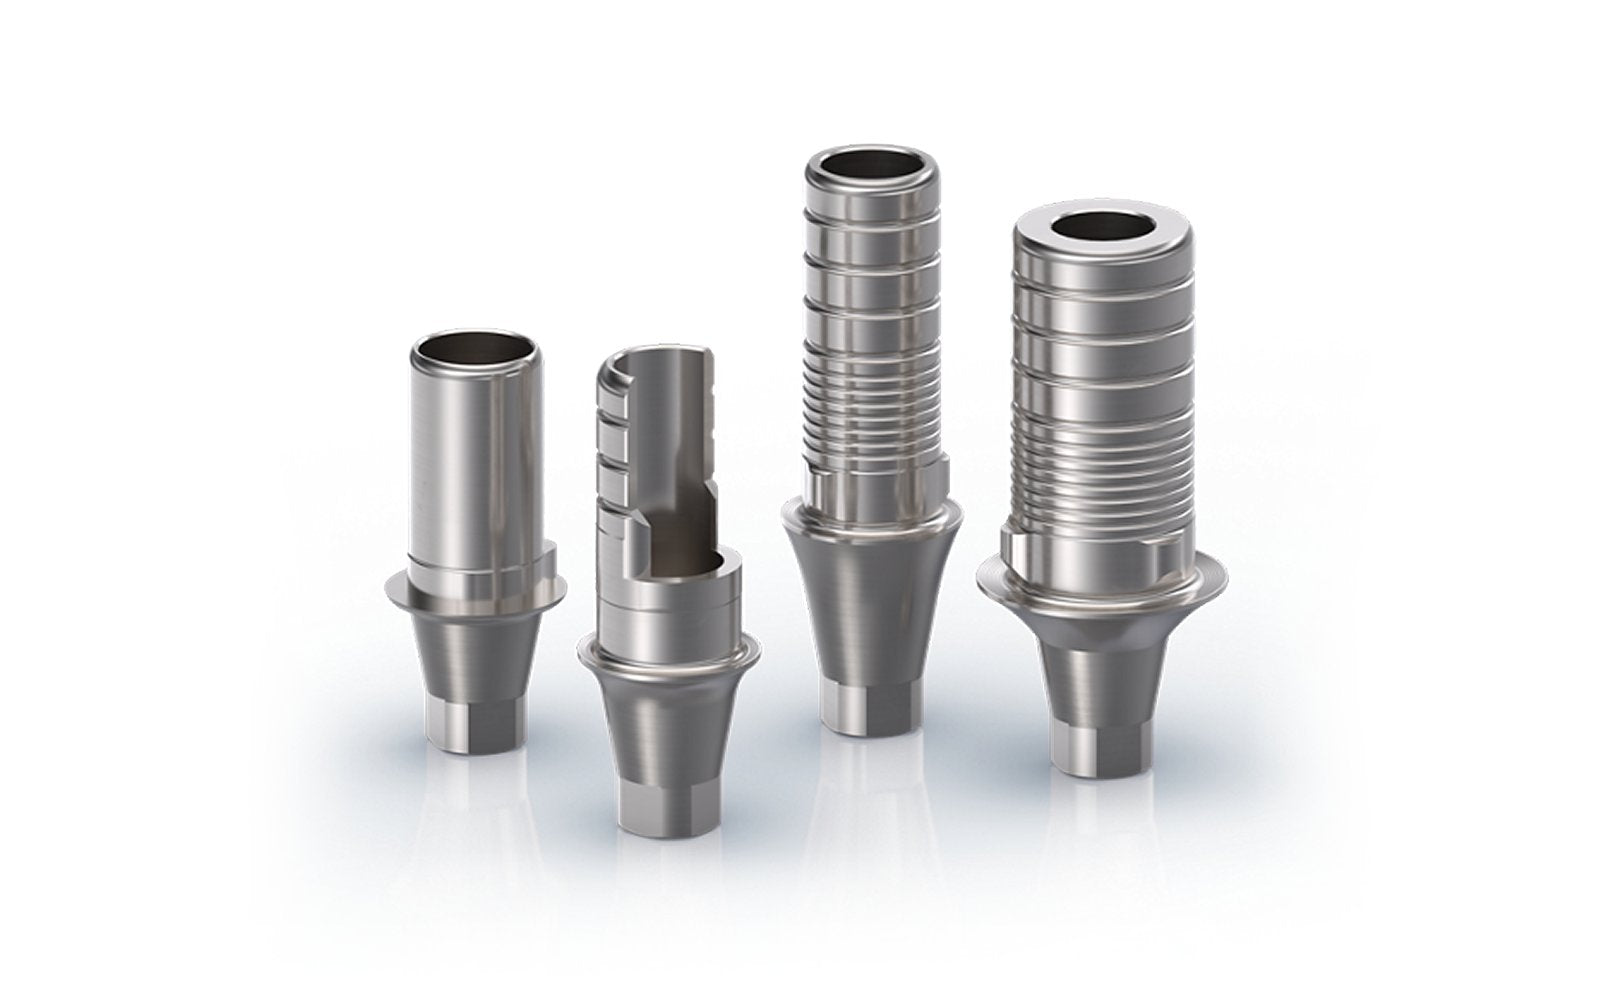
Order implants and components, zirconia/titanium/PMMA milling discs, titanium blanks, abutments, analogs, Ti-bases, burs, and polishers with same-day processing and volume pricing. Call our team now for quick answers and a tailored recommendation.
Call Us: (877)-335-5221